

There is no sight in offshore fishing quite like a lit-up mahi. One moment it is a dark shape in the blue, the next it is a flash of electric green, gold, and cobalt as it charges your bait. The reel screams. The single thread connecting you to that explosion of colour and power is your line. Choosing the right braided line for mahi is not just a detail, it is the foundation of your entire system. Get it right, and you put more fish on the deck. Get it wrong, and you will be telling stories about the one that got away.
Why You Need the Right Braided Line for Mahi
For modern mahi fishing, braided line is the undisputed champion. Forget the thick, stretchy monofilament your grandfather used for his main line. Braid offers a set of advantages that directly translate to catching more fish. The most important is its near-zero stretch. You feel everything. A schoolie tapping a trolled ballyhoo 100 yards back feels like a jolt in your hands, not a spongy guess. This sensitivity is critical for detecting subtle bites and getting a solid hookset.
Next is its incredibly thin diameter. A spool loaded with 50-pound braid holds far more line than one with 50-pound mono. This means you can use smaller, lighter reels that are more comfortable to fish all day. It also means you can fire a pitch bait to a follower that just appeared in the spread with less wind resistance and more distance. That extra line capacity is your insurance policy when a big bull decides to dump half your spool on its first run.
Finally, there is raw strength. The power-to-diameter ratio of braid gives you the confidence to apply pressure and steer a gaffer-sized fish away from a lobster pot buoy or a thick weed mat. This is not just about choosing a line, it is about building a system. The leader you choose, the knots you tie, and the drag you set all depend on the main line. It is the core component of successful mahi mahi fishing, and understanding its properties is the first step to a full fish box.
| Factor | Braided Line | Monofilament Line |
|---|---|---|
| Stretch | Near-zero stretch | High stretch (acts as shock absorber) |
| Sensitivity | Extremely high; feel every bite | Low; subtle bites can be missed |
| Diameter | Very thin for its strength | Thick for its strength |
| Line Capacity | High; more line on a smaller reel | Low; requires larger reels for same capacity |
| Casting | Excellent distance, especially with light baits | Good, but heavier and creates more friction |
| Abrasion Resistance | Lower; can fray on sharp objects | Higher; more resistant to scuffs and nicks |
This table provides a direct comparison of the core characteristics that matter when targeting mahi. While mono has its place as a topshot, braid’s sensitivity and thin diameter make it the superior main line for nearly all mahi applications.
Braid Strength for Spinning and Pitch Bait Rods
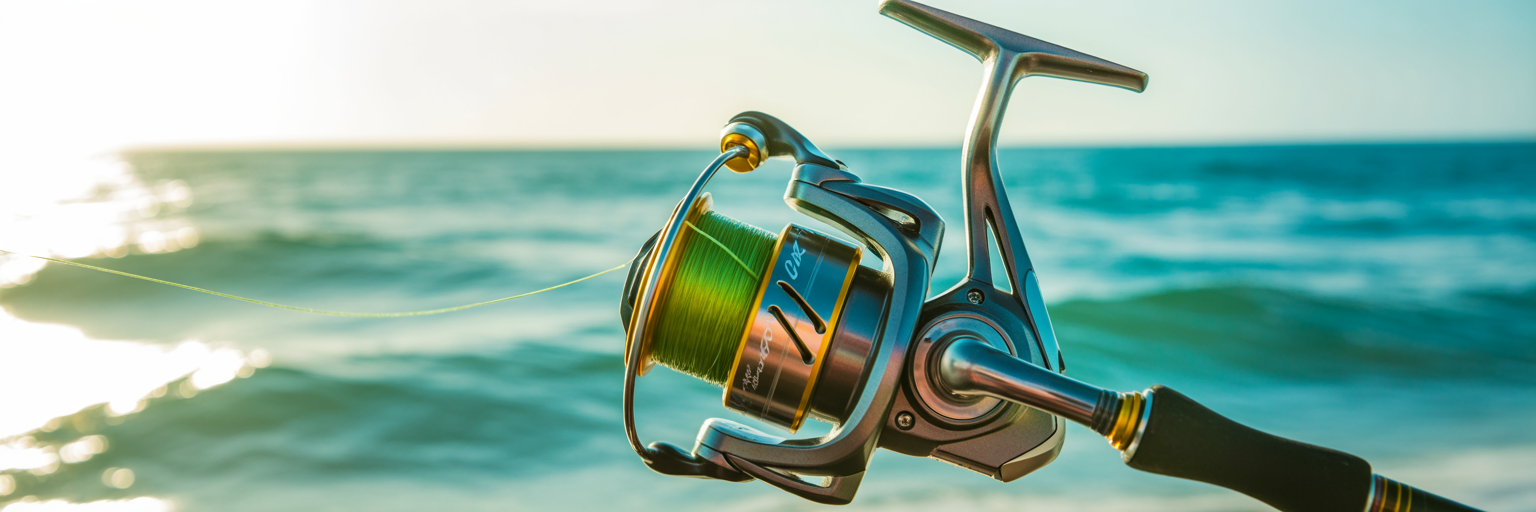
When you are running and gunning, chasing schools of mahi under birds or along a weed line, your spinning rod is your primary weapon. For this application, 30-pound braid is the gold standard. It is the perfect balance of strength and castability. This line is light enough to fly off a 5000 or 6000-class spinning reel, allowing you to make long, accurate casts with a live pilchard or a small chunk of bait. You can drop it right on the nose of a fish that just popped up 50 feet from the boat.
At the same time, 30-pound test has more than enough backbone to handle the acrobatic fight of schoolie and gaffer-sized mahi up to 40 pounds. It gives you the power to turn a fish and keep its head coming towards the boat. Pairing this line with a quality 5000 or 6000-size reel creates a lightweight, balanced mahi fishing line setup that you can cast all day without fatigue. It is a responsive and deadly effective combination.
Of course, there are exceptions. Imagine you find a massive, floating pallet or a thick weed line holding monster bull dolphin off Islamorada. In this situation, stepping up to 40-pound braid is smart insurance. It provides extra strength and abrasion resistance if that big bull decides to dive into the heavy cover. It is a small adjustment that can be the difference between a photo and a heartbreak.
Pay attention to the braid itself. A smooth, tightly woven 8-strand braid is worth the extra cost. It casts farther and is quieter through the guides than a rougher 4-strand line. Think of it like throwing a smooth stone versus a jagged rock. When you need to make a stealthy, precise cast to a lit-up fish without spooking it, that smooth line makes all the difference.
Selecting Braid for Conventional Trolling Setups
Trolling is a different game, and it demands a different setup. Here, we shift from the finesse of a spinning rod to the heavy-duty work of a conventional reel. For this job, 50-pound braid is your workhorse. This is the best braid for trolling mahi because it is built to handle the unique demands of dragging lures and rigged ballyhoo for hours on end. It can withstand the violent shock of a strike at seven knots and has the raw power to winch in a stubborn bull that wants to dig deep.
The biggest advantage is line capacity. The thin diameter of 50-pound braid is a game changer for trolling. It allows you to use smaller, lighter reels, like a 20 or 30-class conventional, which are far more comfortable to handle all day. You still get enough line capacity to handle a blistering run from a big fish that would have spooled a reel filled with bulky 50-pound mono. As noted in expert guides on the topic, like one from In The Spread on dolphin fishing tackle, having gear that can withstand the initial strike and long runs is paramount.
While braid has lower abrasion resistance than mono, the thicker diameter of a 50-pound test gives you a better buffer. When your line inevitably saws back and forth across a sargassum patch during a fight, that extra thickness can save you from a frustrating break-off. It is a practical consideration that experienced offshore anglers understand well.
When do you power up? If you are specifically targeting trophy bulls in the 50-plus pound class or trolling in areas like the Bahamas where a surprise wahoo or tuna is a real possibility, stepping up to 65 or even 80-pound braid is the move. This gives you the ultimate strength and peace of mind, ensuring you are prepared for whatever decides to eat your bait.
The Critical Role of a Monofilament Topshot
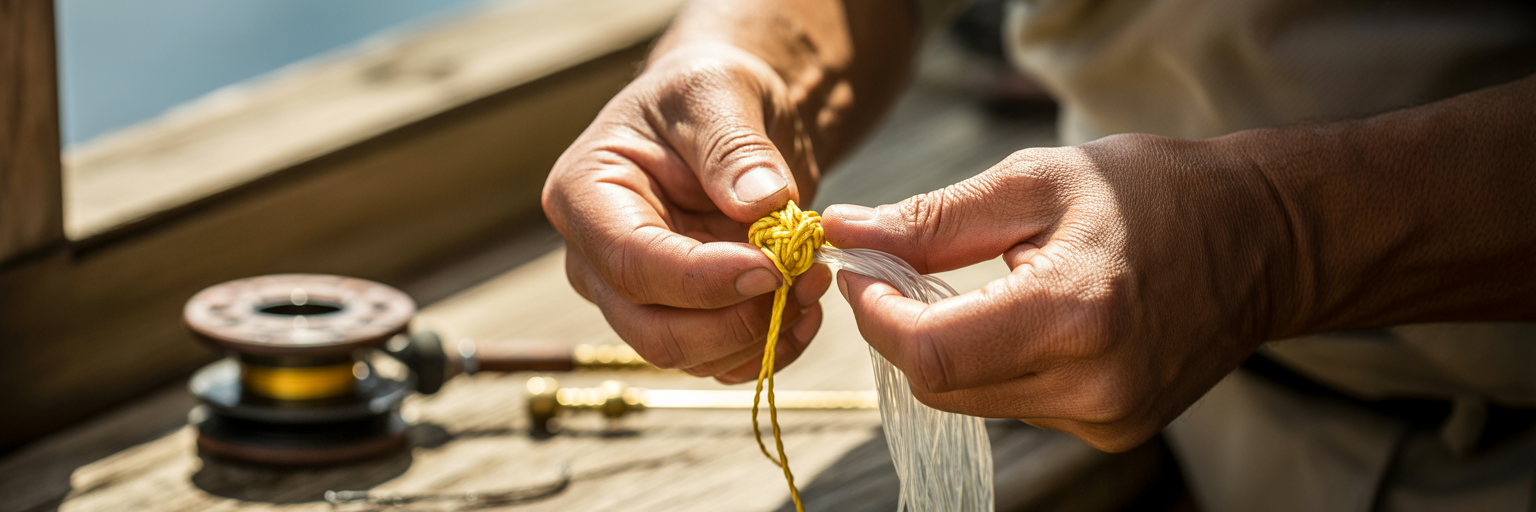
Let’s be perfectly clear. If you are using braid as your main line for mahi, a monofilament topshot is not optional. It is a non-negotiable part of the system. Braid is like a steel cable with zero give. The topshot is the bungee cord attached to the end. Without that shock absorption, the violent headshakes and sudden lunges of a hooked mahi will rip the hook right out of its soft mouth. You will see the fish jump, throw the hook, and swim away.
The ideal topshot is a 100 to 150-foot section of monofilament. This length is long enough to provide the necessary stretch to cushion the fight but short enough that your connection knot stays safely on the reel spool during casting and the initial run. You want the stretch, but you do not want a bulky knot clicking through your guides when you make a cast.
The topshot serves several critical functions:
- Shock Absorption: It acts as a crucial shock absorber, preventing pulled hooks during aggressive headshakes and jumps.
- Abrasion Resistance: It provides better resistance to nicks and scuffs than braid, especially for the section of line most likely to touch the boat gunwale or floating debris.
- Handling: Monofilament is much easier and safer for a crew member to grab and handle when leadering a fish boatside. Grabbing thin braid under tension is a recipe for deep cuts.
It is vital to match the topshot’s pound test to your braid’s pound test. If you are using 50-pound braid, use a 50-pound mono topshot. This ensures the lines have similar diameters, which is essential for creating a strong, reliable connection knot. We will get to the specific knots, like the FG and Double Uni, but first, understand that this topshot is the component that keeps fish buttoned up.
Choosing the Right Fluorocarbon Leader
The final piece of the puzzle before the hook is the leader, and its job is one word: stealth. Mahi have incredible eyesight, especially in the crystal-clear blue water off the Florida coast. They can become incredibly wary of anything that looks unnatural. This is where fluorocarbon becomes your secret weapon. Its light-refractive properties make it nearly invisible underwater, giving you a significant advantage over more visible monofilament leaders.
Choosing the right strength is a matter of balancing invisibility with durability. Here are the clear, actionable guidelines for your fluorocarbon leader for mahi:
- General Use (30-50 lb): This is your go-to for most situations. When you are casting to schoolies in open, clear water or trolling for average-sized fish, a 40-pound fluorocarbon leader offers the perfect blend of near-invisibility and strength.
- Heavy Cover or Big Fish (50-80 lb): When you are fishing tight to dense weed lines, floating pallets, or you know big bulls are in the area, it is time to beef up. A 60 or 80-pound leader provides essential abrasion resistance against the structure and the rough, toothy jaws of a large mahi. Do not risk losing a trophy fish to save a few feet of leader material.
A standard leader length of about six feet is a great starting point. This is long enough to keep your bait a good distance from the more visible topshot but not so long that it becomes clumsy to manage when casting or landing a fish. Remember the distinct roles: the topshot is for shock absorption further up the line, while the fluorocarbon leader is for stealth and abrasion resistance at the business end. Getting this distinction right is what separates a well-thought-out setup from a random collection of tackle.
Essential Knots for Your Braid-to-Leader Connection
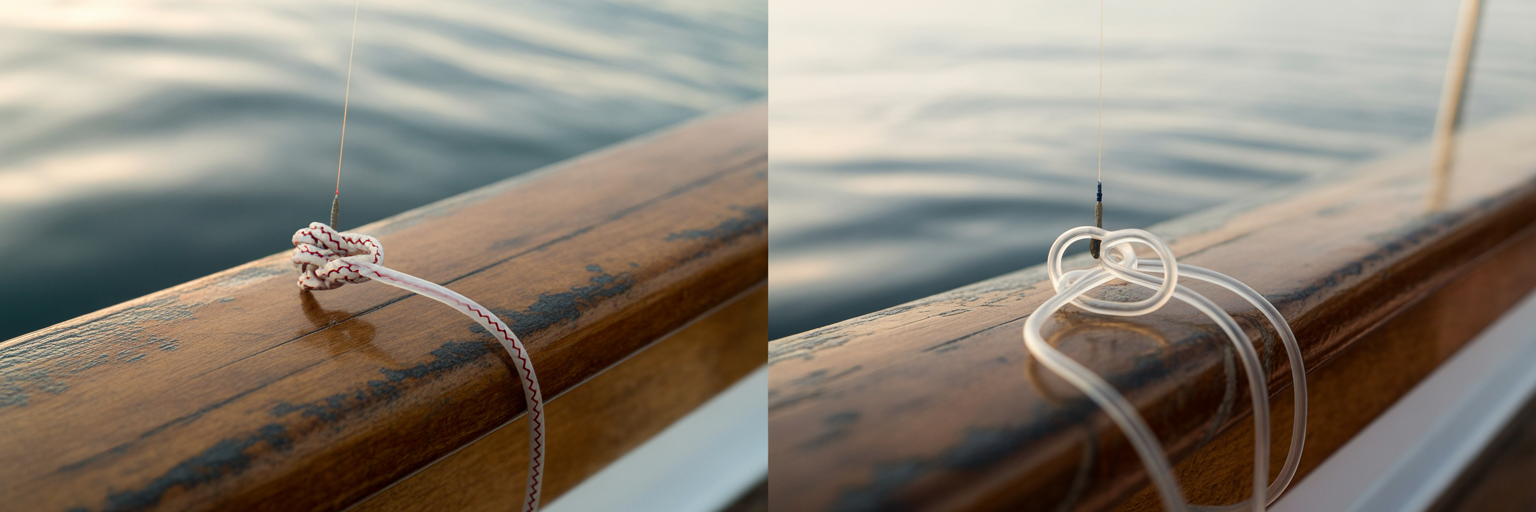
This is where most setups fail. The connection between your main line or topshot and your leader is the most common weak point. A poorly tied knot will break long before your line does. Mastering one or two of these essential mahi fishing knots is mandatory for any serious angler. There is no excuse for losing a fish to a bad knot.
The FG Knot: The Professional’s Choice
The FG knot is the undisputed king. It is the slimmest, strongest connection you can make. The knot is essentially a Chinese finger trap of braid gripping the leader, creating a connection that is so streamlined it flies through rod guides with zero clicking or friction. It retains nearly 100% of the line’s breaking strength. The downside? It can be difficult and time-consuming to tie correctly, especially on a rocking boat. It is a knot you tie at the dock, not in the middle of a hot bite.
The Double Uni Knot: The Reliable Workhorse
This is the go-to knot for 90% of anglers, and for good reason. The Double Uni is strong, proven, and with a little practice, you can tie it in 30 seconds with your eyes closed. It involves tying two separate Uni knots that jam together. While it has a slightly bulkier profile than the FG knot, a well-tied Double Uni will not let you down. It is the most practical and reliable connection for on-the-water situations.
The Alberto Knot: The Happy Medium
The Alberto knot is a fantastic compromise between the FG and the Double Uni. It is significantly slimmer and stronger than a Double Uni but much easier and faster to tie than an FG. It is an excellent choice for anglers who want to upgrade their connection without the frustration of learning the complex FG. If you find the Double Uni too bulky but the FG too difficult, the Alberto is your knot.
Terminal Knots for Maximum Lure and Bait Action
We are at the business end. The final knot connecting your leader to your hook or lure is just as critical as the others, but here the focus shifts to action. The wrong knot can choke a lure and kill its effectiveness. The right knot lets it swim freely and naturally, triggering more strikes.
For almost all mahi lures, from small feathers to rigged ballyhoo, you should be using a loop knot. The Non-Slip Loop Knot, also known as the Kreh Loop, is the best choice. Think of it this way: a tight cinch knot holds the lure in a rigid grip, restricting its movement. A loop knot creates a small, open loop that allows the lure to pivot and swim with a much more natural and enticing action. It lets the lure breathe. This small detail results in a huge increase in bites.
The main exception is when you are using live bait on a circle hook. In this case, the bait itself provides all the action. A secure cinch knot like the Improved Clinch Knot or the Palomar Knot is the better choice. These knots provide a solid, direct connection to the hook, which is what you want for a good hookset with a circle hook. The goal is a firm connection, not added action.
Here is a piece of advice you should take to heart: ditch the snaps and swivels. Yes, they are convenient. They are also bulky, create a weak point, and can spook line-shy fish in clear water. Taking the extra 30 seconds to tie a direct knot to your lure will absolutely, without a doubt, result in more fish being caught. It is a simple trade of a little time for a lot more success.
How to Set Your Drag for Mahi Runs and Jumps
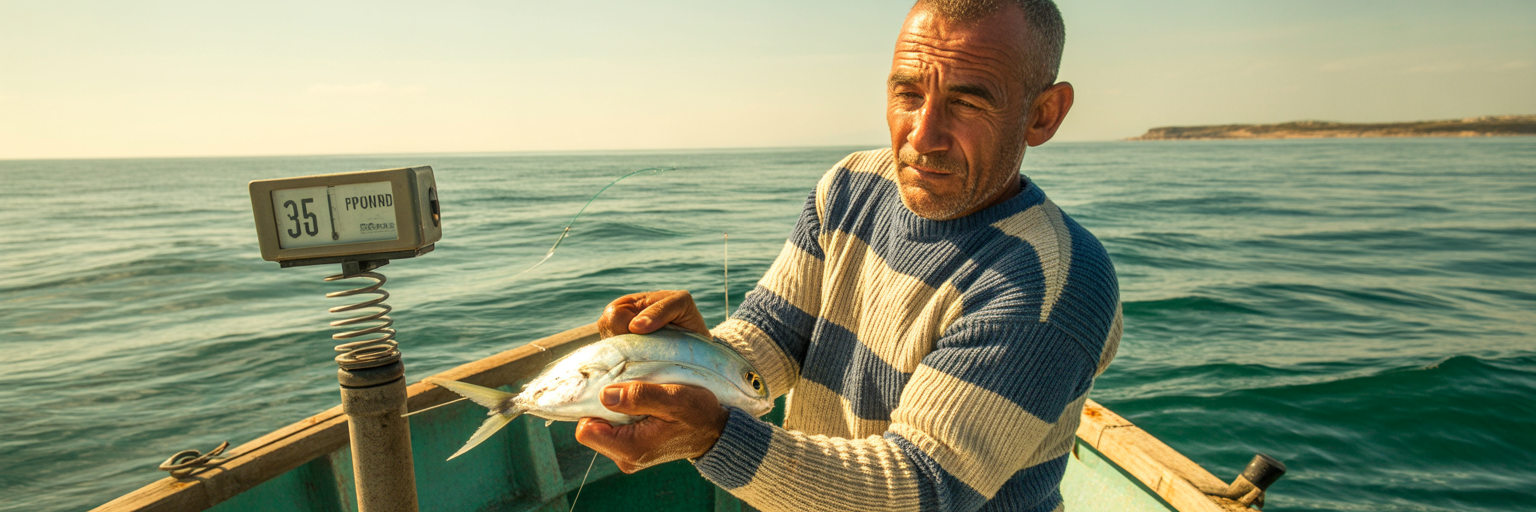
Here is an unbreakable rule of offshore fishing: set your strike drag to one-third of the breaking strength of the weakest link in your system. This is not a suggestion, it is a fundamental principle. For a 30-pound setup, that means setting your drag to 8 to 10 pounds. For a 50-pound setup, it is 15 to 17 pounds. The only way to know how to set drag for mahi correctly is to use a handheld scale before you leave the dock. Hook the scale to your line, pull until the drag slips, and adjust until it reads correctly. Guessing is for amateurs.
The reason this is so critical is braid’s zero stretch. If your drag is too light, you will fail to sink the hook properly into the mahi’s bony mouth. If your drag is too tight, the first violent headshake or jump will either pull the hook or snap the line. There is no forgiveness. The drag and the bend in your rod are your only shock absorbers.
Once the fight is on, the best advice is to “set it and forget it” for the most part. Do not panic and start cranking down the drag when a fish makes a run. That blistering first run is when most fish are lost. Let the fish go. Let the drag do its job. If you need to apply a little extra pressure to turn a fish, use your thumb on a conventional spool or gently palm the spool on a spinning reel. Keep your rod tip high to use the rod’s parabolic bend as a secondary shock absorber.
On-the-Water Tactics Influenced by Your Line Setup
All this technical talk about line and knots means nothing if it does not help you put more fish in the boat. A properly configured braid system directly enables the most effective on-the-water mahi tactics. It is the “so what” of your preparation.
- The ‘Keep One in the Water’ Trick: This is classic mahi fishing. Once the first fish is hooked, you never reel it all the way in. Keep it in the water near the boat, and its schoolmates will almost always follow and stay with it. This holds the school at the boat, creating a feeding frenzy.
- The Pitch Bait Strategy: With the school held by the first fish, an angler with a spinning rod spooled with 30-pound braid can now make quick, accurate casts to the other lit-up fish. The casting distance and sensitivity of the braid are what make this tactic so deadly. You can pick your targets and put a bait right on their nose.
- Chaos Management: When a whole school erupts and you have multiple hookups, chaos can ensue. The thin diameter of braided line drastically reduces the chances of lines crossing and creating a massive, fight-ending tangle. With bulky mono, two crossed lines under tension is a disaster. With braid, you have a fighting chance to keep them separate.
- Reading the Fish: The direct, no-stretch connection of braid is like having a direct line to the fish’s brain. You can feel everything it is doing. You feel it digging deep, shaking its head, or starting to come to the surface. This allows you to anticipate a jump and “bow to the king” by lowering the rod tip to create a moment of slack, preventing the fish from throwing the hook.
Maintaining Your Braid for Peak Performance
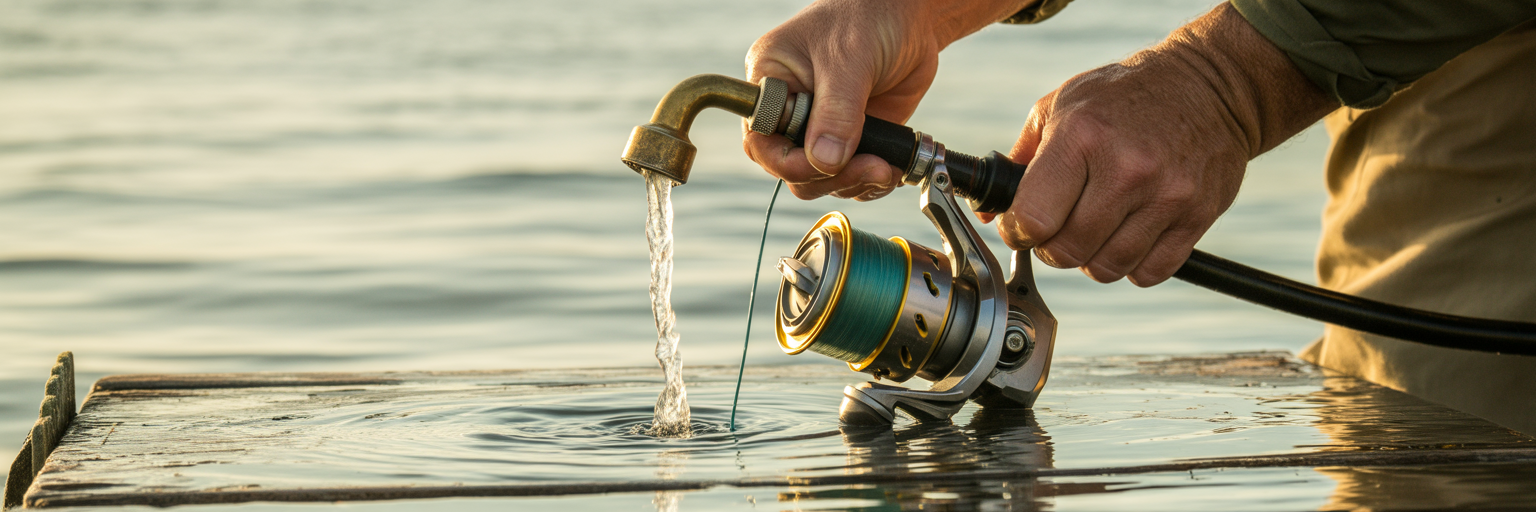
Your braided line is an investment. Protecting that investment is not a chore, it is cheap insurance against failure. A few simple steps after each trip and before the next one will ensure your line is always ready for peak performance. Think of it as controlling the variables you can control.
- Rinse It: After every single trip, give your reel and line a gentle but thorough freshwater rinse. This washes away salt crystals that will dry, abrade the fibers, and weaken your line over time. Do not use high pressure, just a soft spray.
- Inspect It: Before your next trip, peel off 30 to 40 feet of line, the section that sees the most action. Run it between your thumb and forefinger. If you feel any nicks, frays, or rough spots, do not hesitate. Cut that section off and retie your leader. This five-minute check can save you a trophy fish.
- Reverse It: After a full season of heavy use, you can effectively double the life of your braid. Spool the line onto a spare reel, then wind it back onto your main reel. This puts the fresh, unused line from the core of the spool on top, ready for action.
- Replace It: Even with the best care, braid does not last forever. Plan on a full replacement every two to three seasons, or anytime you lose a significant amount of line to a big fish or a deep snag. Starting the season with fresh line is starting with confidence.
A well-maintained line system is the difference between the frustrating story of “the one that got away” and the triumphant photo of a trophy mahi on the deck. It is about preparation meeting opportunity. When that fish of a lifetime strikes, you want to be ready.