
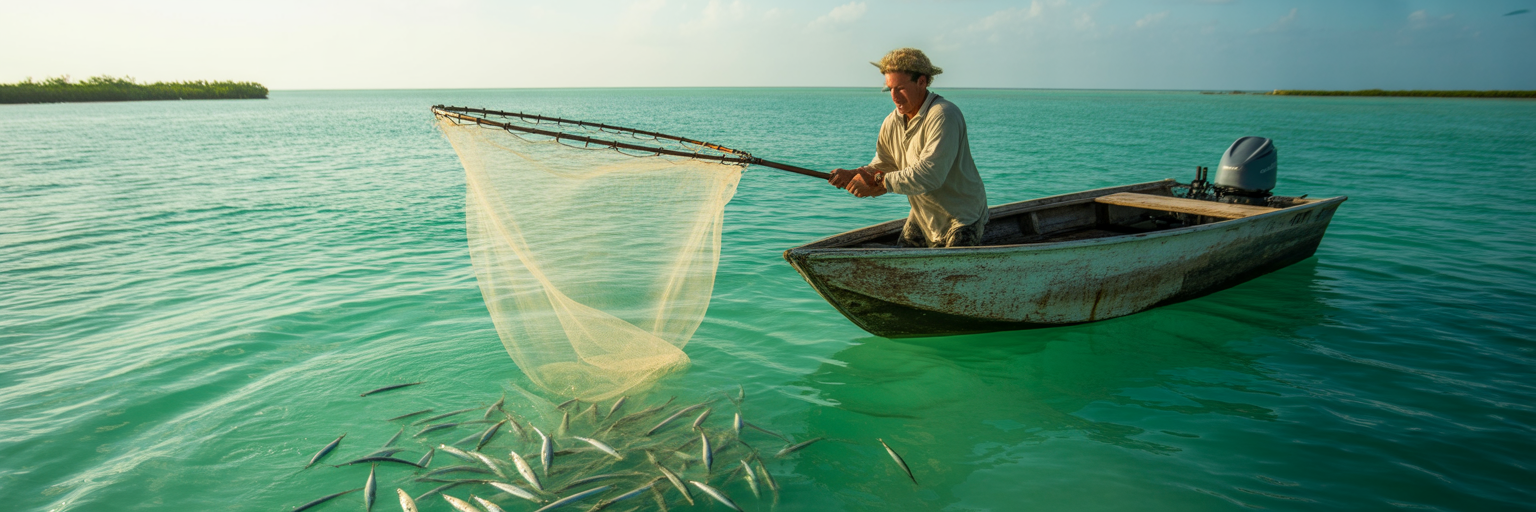
There is a distinct difference between bait you buy and bait you catch. Store-bought bait often looks tired, swimming lethargically in a crowded tank. Freshly caught bait is electric. It’s the frantic, silver flash of a pilchard just pulled from the water that triggers a predatory strike. For serious anglers, having the best live bait for fishing Florida isn’t a luxury, it’s a necessity. Gamefish like snook, redfish, and tarpon are hardwired to attack panicked, healthy prey, and nothing imitates that better than bait you just netted yourself.
Learning to catch your own bait is about more than saving a few dollars on a dozen shrimp. It is about taking complete control of your day on the water. With a full livewell, you have an almost unlimited supply. You can chum aggressively to fire up a bite, switch out baits frequently to keep them lively, and never worry about rationing. The initial investment in a quality cast net pays for itself in just a few trips.
More importantly, this is a fundamental angling skill. It teaches you to read the water, spot subtle surface disturbances, and understand how tides move bait. It requires patience and practice, but it is one of the core abilities that separates consistently successful anglers from those who just get lucky. Mastering this skill puts you in the top tier of fishermen who create their own opportunities.
This guide provides a complete system for finding, catching, and keeping the highest quality bait. By the end, you will have the knowledge to turn an empty livewell into your greatest advantage on the water.
The Essentials of Cast Net Bait Catching
There is a distinct difference between bait you buy and bait you catch. Store-bought bait often looks tired, swimming lethargically in a crowded tank. Freshly caught bait is electric. It’s the frantic, silver flash of a pilchard just pulled from the water that triggers a predatory strike. For serious anglers, having the best live bait for fishing Florida isn’t a luxury, it’s a necessity. Gamefish like snook, redfish, and tarpon are hardwired to attack panicked, healthy prey, and nothing imitates that better than bait you just netted yourself.
Learning to catch your own bait is about more than saving a few dollars on a dozen shrimp. It is about taking complete control of your day on the water. With a full livewell, you have an almost unlimited supply. You can chum aggressively to fire up a bite, switch out baits frequently to keep them lively, and never worry about rationing. The initial investment in a quality cast net pays for itself in just a few trips.
More importantly, this is a fundamental angling skill. It teaches you to read the water, spot subtle surface disturbances, and understand how tides move bait. It requires patience and practice, but it is one of the core abilities that separates consistently successful anglers from those who just get lucky. Mastering this skill puts you in the top tier of fishermen who create their own opportunities.
This guide provides a complete system for finding, catching, and keeping the highest quality bait. By the end, you will have the knowledge to turn an empty livewell into your greatest advantage on the water.
Selecting the Right Cast Net for Florida Waters
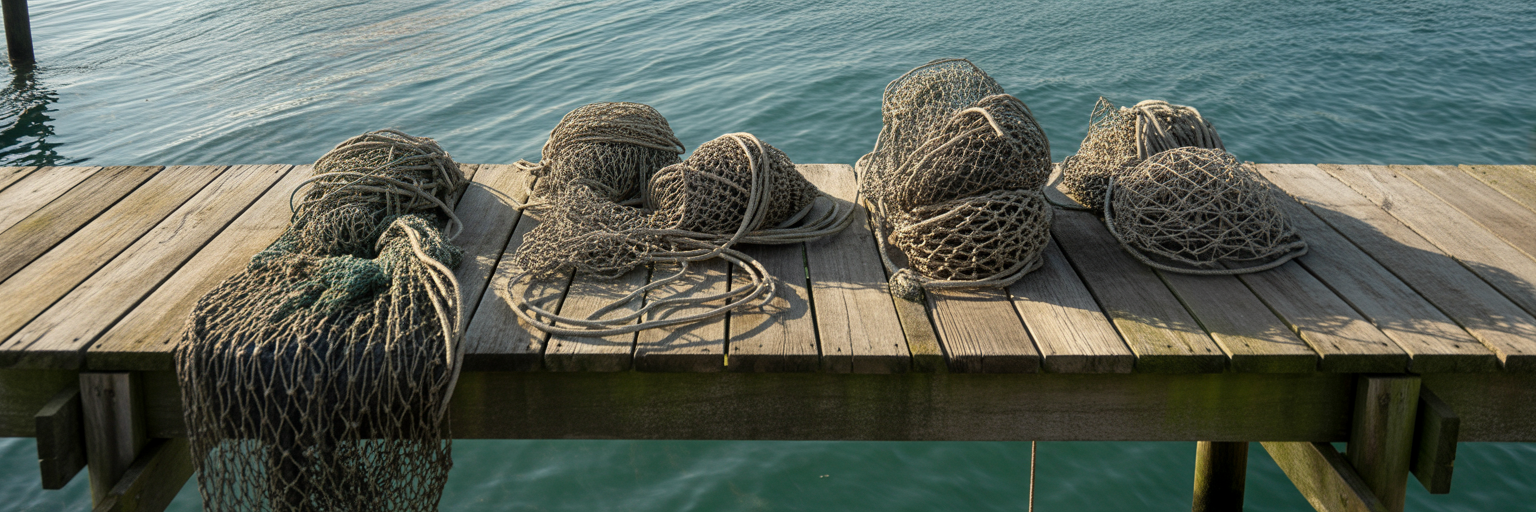
Choosing your first cast net can feel complicated, but it boils down to matching the gear to the job. The right net makes catching bait efficient, while the wrong one leads to frustration, snags, and an empty livewell. We will break down the three critical factors: radius, mesh size, and weight. Getting this combination right is the first step toward mastering bait catching.
Understanding Cast Net Radius and Your First Net
Cast nets are measured by their radius, which is the distance from the horn (the plastic ring at the center) to the lead line. A 6-foot net, for example, opens to a 12-foot diameter. It is tempting to think bigger is better, but that is a mistake for beginners. Throwing a large 10- or 12-foot net requires refined technique and strength. Starting too big is like learning to drive in a race car; you will struggle with control and develop bad habits.
For a new angler, the sweet spot is a net with a 4- to 6-foot radius. This size is manageable, easier to throw correctly, and allows you to focus on mastering the motion. A perfectly thrown 6-foot net that opens into a full “pancake” will catch far more bait than a poorly thrown 10-footer that lands in a tangled “banana” shape. Once you can consistently get a full spread with a smaller net, you can consider sizing up for open-water situations.
Matching Mesh Size to Your Target Bait
Mesh size determines what size bait your net can catch and retain. It is measured from knot to knot. Using the wrong mesh is inefficient and can harm the bait.
A 1/4-inch mesh is designed for tiny baitfish like glass minnows or other fry. It is a specialty net that most anglers will not need for general-purpose use. The most versatile and essential mesh size for Florida is 3/8-inch. This is the workhorse for catching pilchards (whitebait), threadfin herring, and greenbacks, which are primary forage for most inshore and nearshore predators.
For larger baits like finger mullet or menhaden, a 1/2-inch or 5/8-inch mesh is more appropriate. The larger openings allow smaller, unwanted fish to escape and reduce drag in the water, helping the net sink faster. A critical concept to understand is “gilling.” This happens when you use a mesh size that is too large for your target bait. The baitfish get their heads stuck in the mesh, which is time-consuming to remove and often fatal for the bait.
Why Net Weight Matters for Different Depths and Currents
The weight of a net, measured in pounds per foot of radius (lbs/ft), determines how fast it sinks. This is a crucial factor that must be matched to the depth and current you are fishing in. A net that sinks too slowly will allow bait to escape, while one that is too heavy can be difficult to throw and manage in shallow water.
For deep channels or areas with strong currents, like the passes around the Sunshine Skyway Bridge, a heavier net is essential. Look for a weight of 1.4 lbs/ft or more. This weight punches through the current and gets the net down to the bait before it can scatter. In contrast, when you are targeting bait on shallow grass flats in places like the Indian River Lagoon, a lighter net of around 1.0 lbs/ft is ideal. It sinks fast enough for shallow water but is less likely to snag on oysters, rocks, or other bottom structures.
For a beginner looking for the best cast net for Florida, the clear recommendation is a 5- or 6-foot radius net with 3/8-inch mesh and a weight between 1.0 and 1.2 lbs/ft. This combination is the most versatile setup for the majority of bait-catching scenarios you will encounter.
| Net Characteristic | Beginner All-Arounder | Small Bait / Shallow Water | Big Bait / Deep Water |
|---|---|---|---|
| Radius | 5-6 feet | 4-5 feet | 8-10 feet |
| Mesh Size | 3/8 inch | 1/4 inch | 1/2 inch or 5/8 inch |
| Weight (lbs/ft) | 1.0 – 1.2 lbs/ft | 0.75 – 1.0 lbs/ft | 1.4 – 1.6 lbs/ft |
| Primary Target Bait | Pilchards, Threadfins, Greenbacks | Glass Minnows, Small Fry | Finger Mullet, Menhaden, Pinfish |
| Ideal Environment | Flats, Docks, Mild Current | Calm, Shallow Flats, Sight-Casting | Deep Channels, Bridges, Strong Current |
This table provides a quick reference for matching your cast net to the specific bait and conditions you’ll face in Florida. Choosing the right combination of radius, mesh, and weight is the first step to filling your livewell efficiently.
How to Pinpoint Florida Bait Schools
The best cast net is useless if you cannot find bait. Successful bait catching begins with observation. You need to learn how to read the water and identify the subtle signs that give away a school’s location. Before you even think about throwing the net, slow down and look.
The most obvious sign is what anglers call “nervous water.” This is a distinct shimmering or rippling texture on the surface that looks different from wind chop. It is caused by the movement of a dense school of bait just below. Another giveaway is “raining” bait, where individual baitfish are actively flipping and jumping on the surface, often when being pushed by predators from below. However, the most reliable indicators are diving birds. Pelicans, in particular, are your best friends. A group of pelicans dive-bombing a specific area is a nearly certain sign of a thick bait school.
Once you know what to look for, you need to know where to look. Baitfish congregate in predictable locations that offer food and protection from predators. Focus your search on these high-probability zones:
- Bridge Pilings and Shadow Lines: Bait uses the structure for cover. Always check the down-current side of the pilings, where they can hold out of the main flow.
- Channel Markers: These act as mini artificial reefs, attracting bait and the predators that hunt them.
- Grass Flat Edges: Look for the transition where a shallow grass flat drops off into a deeper, sandy channel. Bait moves along these edges for security.
- Lighted Docks and Piers: At dawn, check any docks that had lights on overnight. The light attracts plankton, which in turn concentrates baitfish.
- Marina and Harbor Basins: These calm, protected areas are often nurseries for bait and can hold massive schools, especially during rough weather.
Tide and time of day are also critical factors. An outgoing tide is often best, as it acts like a conveyor belt, pulling bait from backwater creeks and estuaries and concentrating them in passes and channels. The first hour of daylight is almost always the most productive window for cast net bait catching. The low light gives you an advantage, as the bait is often less spooky and easier to approach.
Your approach must be stealthy. Never run up to a school with your outboard motor. This will scatter them instantly. Instead, use a trolling motor or push pole to get upwind or up-current of the school. Shut everything down and drift silently into position. A quiet approach is the difference between a single throw that fills the well and spending an hour chasing scattered bait. This entire process of finding and approaching bait is a fundamental part of successful live bait fishing, a skill that pays dividends whether you’re on the flats or offshore. While these patterns hold true across the state, slight seasonal variations exist between the Gulf and Atlantic, a topic well-documented by veteran anglers in publications like Florida Sportsman.
Mastering a Simple, Effective Cast Net Throw
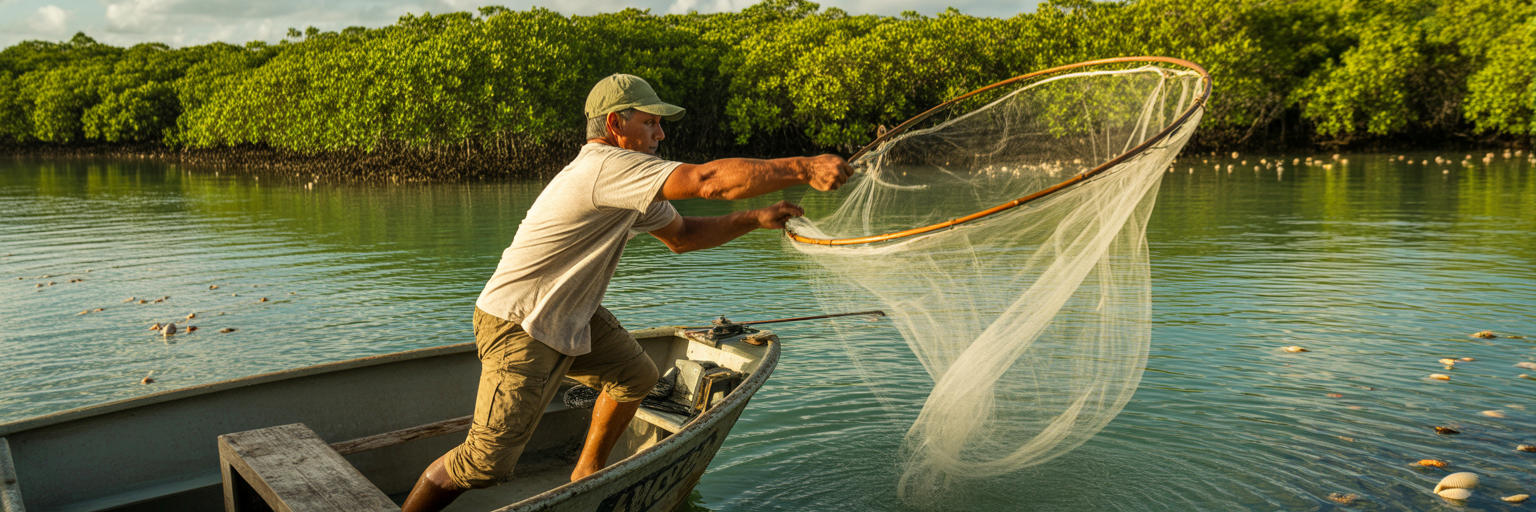
Knowing how to find bait is only half the battle; you have to be able to catch it. Throwing a cast net is a physical skill that requires practice to develop muscle memory. There are many different throwing styles, but the goal is always the same: to have the net open into a perfect circle, or “pancake,” as it hits the water. We will focus on a simple, repeatable method that is easy to learn and highly effective.
Before you even begin, let’s talk about safety. Always secure the hand line to your non-throwing wrist with a slip knot. This ensures that if the net snags on a moving object or you slip, the loop can pull free from your wrist. Never attach the line with a knot that cannot release under pressure, as this creates a serious risk of being pulled overboard.
Now, let’s break down the throw into a simple, step-by-step sequence. This is a variation of the triple-load method, which is reliable and easy to master.
- Coil the Hand Line: Start by making loose, uniform coils of the hand line in your throwing hand. Do not make them too tight, as this can cause tangles when the line pays out.
- Grab and Clear the Net: With the hand line coiled, reach down and grab the net at the horn. Lift the entire net off the deck and let it hang freely to ensure there are no tangles in the mesh.
- First Load: With your throwing hand still holding the coiled line and the horn, grab the net about one-third of the way down from the horn. You are now holding the coils, the horn, and a bundle of mesh in one hand.
- Second Load (The Split): Use your free hand to split the remaining hanging portion of the net roughly in half. Take the front half of the lead line and place it over your throwing hand’s thumb, letting it hang there. Your throwing hand is now holding the coils, the horn, the mesh bundle, and a section of the lead line.
- Third Load (The Grip): With your free hand, grip a single section of the remaining lead line that is hanging down. Hold it lightly between your thumb and index finger. You should now have the net distributed between both hands.
- The Throw: Stand with your feet shoulder-width apart, facing your target. In a smooth, rotating motion, swing your body and arms toward the target, similar to a discus throw. As you swing, release the lead line from your free hand first, followed immediately by the rest of the net from your throwing hand. The centrifugal force will cause the net to unfurl and open.
The single most important piece of advice is to practice on a grassy lawn before you ever try this on a boat. This allows you to perfect the sequence and build the necessary muscle memory without the pressure of a rocking boat or spooky bait. Your goal is to get a perfect pancake every time. Remember, a smaller, perfectly thrown net will always out-fish a large, poorly thrown net. This methodical practice is the key to learning how to throw a cast net effectively.
Keeping Your Bait Healthy from Net to Livewell
You have found the bait and made a perfect throw. The net is full of lively pilchards. The next few minutes are critical and will determine whether that bait stays healthy and effective all day or dies within the hour. Many beginners get this part wrong and wonder why their bait does not last.
The primary cause of bait death is physical trauma and scale loss. Every scale that gets knocked off a baitfish is an open wound. It strips away their protective slime coat, invites infection, and causes immense stress. Your goal is to handle the bait as little and as gently as possible. Never dump a full net of bait directly onto the dry, non-skid surface of your boat deck. This is the quickest way to kill them.
The proper technique is to minimize impact. After closing the net, gather the lead line and bring it alongside the boat. Instead of lifting it out of the water, lay the net in the water so the bait remains calm and supported. Have a 5-gallon bucket ready, partially filled with water from the livewell. Gently shake small batches of bait from the net into the bucket. Then, carefully transfer the bait from the bucket into the livewell. This multi-step process prevents the bait from thrashing on a dry deck and preserves their scales and slime coat.
That slime coat is the bait’s natural armor. It is their primary defense against bacteria and parasites in the water. Rough handling, dry hands, or hitting the boat deck strips this layer away, drastically shortening the bait’s lifespan. A baitfish that has lost its scales and slime is a dead baitfish swimming.
Once the bait is in the livewell, your job is not over. Proper livewell management is essential for keeping them in prime condition. Follow these rules:
- Maximize Oxygen: Your aerator should be running on high from the moment the first bait goes in. A strong, consistent flow of oxygenated water is non-negotiable.
- Avoid Overcrowding: This is a common and fatal mistake. A good rule of thumb is no more than one pilchard-sized bait per gallon of water. A 30-gallon livewell can support about 30 pilchards, not 100.
- Keep Water Clean and Cool: Baitfish constantly release ammonia, which will poison the water. Periodically exchange the water in the well, especially on hot Florida days, to remove waste and maintain a stable, cool temperature.
- Remove Dead Bait Immediately: A single dead bait will quickly release ammonia and foul the water, starting a chain reaction that can kill the entire well. Be vigilant and remove any dead ones as soon as you see them.
As detailed in Florida Sport Fishing Magazine, maintaining water quality by managing ammonia levels and oxygenation is just as important as the initial handling of the bait. Healthy bait catches fish.
Troubleshooting and Advanced Bait Catching Tactics
Even with perfect technique, you will eventually run into problems. The most common and frustrating issue is getting your cast net snagged on structure. When this happens, the worst thing you can do is panic and yank on it. This will only tighten the snag and potentially tear your net.
The first step is to stay calm. Try pulling gently on the hand line from several different angles. Often, a change in direction is all it takes to free the net. If that does not work, use your boat and trolling motor to move to the opposite side of the snag and apply pressure from a completely new angle. This is usually the most effective method. Yanking harder and harder from the same spot is a losing battle. Only as a last resort, if the net is hopelessly stuck on something you cannot move, should you consider cutting a section of the lead line or mesh to retrieve what you can.
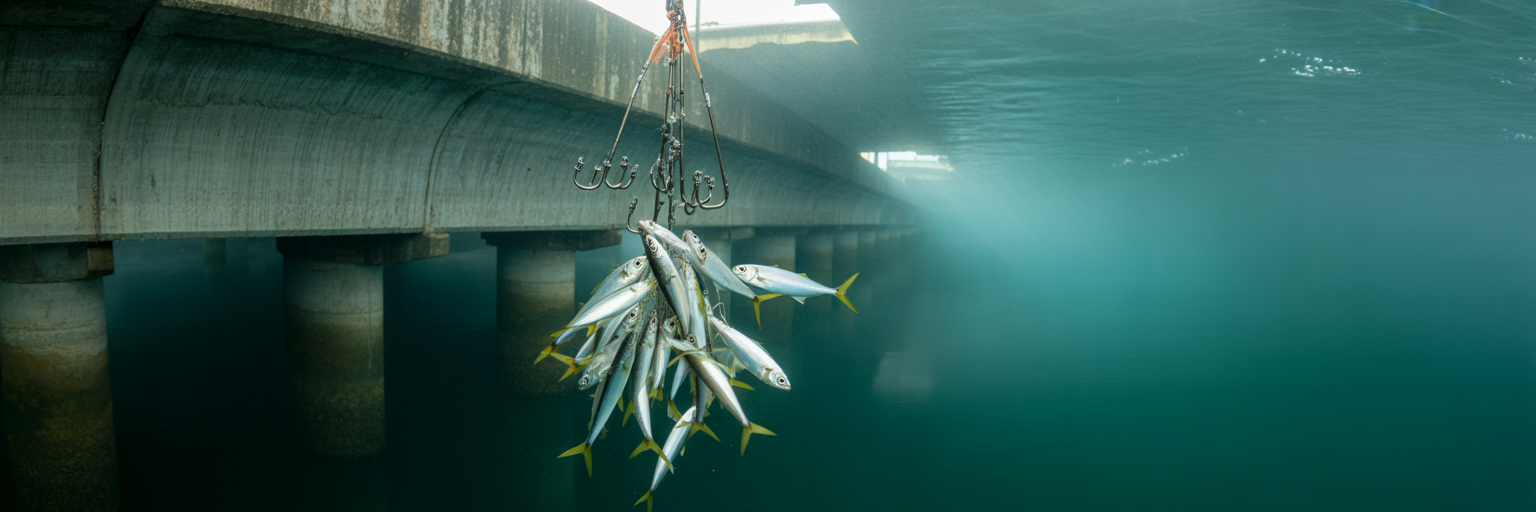
Sometimes, bait is not on the surface where a cast net is effective. It might be holding deep on a reef, wreck, or bridge piling. In these situations, the Sabiki rig is your primary tool. A Sabiki is a multi-hook rig with small, flashy flies or fish-skin tabs that imitate tiny baitfish. It is the go-to method for catching pinfish and mullet, as well as threadfins or cigar minnows, when they are holding in deep water where a net is impractical.
A fish finder is essential for this type of bait catching. Look for dense, cloud-like marks on your sonar screen that are suspended in the water column. Sometimes they will appear as a “Christmas tree” shape, wider at the bottom and tapering toward the top. Once you locate a school, position your boat directly over the mark and drop the Sabiki rig down to the proper depth. The bait will often hook themselves as you gently jig the rod.
Finally, always be aware of local regulations. The Florida Fish and Wildlife Conservation Commission (FWC) sets rules on mesh size and may have specific regulations for certain areas or species. For example, some areas may have minimum mesh size requirements to protect juvenile fish. Always check the latest FWC rules before you go to ensure you are in compliance.
| Factor | Cast Net | Sabiki Rig |
|---|---|---|
| Best Use Case | Shallow water (under 20 ft), visible surface schools | Deep water (over 20 ft), bait marked on sonar, heavy structure |
| Bait Condition | Can cause scale loss if handled roughly | Excellent; bait is hooked cleanly in the mouth |
| Efficiency | High volume; can fill a livewell in one throw | Low volume; catches one bait at a time per hook |
| Pros | Fast, catches large quantities, covers a wide area | Works in any depth, avoids snags on structure, less physical effort |
| Cons | Prone to snagging, requires practice, less effective in deep water | Slow, can tangle easily, less effective for schooling bait on flats |
This table helps you decide whether a cast net or a Sabiki rig is the better choice for the situation. Often, the most prepared anglers have both on board.
Putting Your Bait Catching Skills to Work
You now have the complete workflow for successful bait catching. It starts with selecting the right net for the job. Then, it is about reading the water to find the signs of bait, making a quiet and strategic approach, and executing a practiced throw. Finally, it is about handling your catch with care to ensure your livewell is full of healthy, energetic bait.
Patience is the most important tool you have. There will be mornings when the bait is scattered. You will make bad throws that land in a tangled mess. You will have empty nets. This is all part of the process. Every trip is practice, and every mistake is a lesson. Do not get discouraged. Mastering a true angling skill takes time.
The effort is worth it. The ability to consistently catch your own bait is what separates good anglers from great ones. It gives you a direct advantage and puts you in control of your success. Mastering cast net bait catching is one of the most rewarding things a Florida angler can do, and it leads directly to more bent rods, screaming drags, and better stories at the dock.
One final piece of pro-level advice: always have a backup plan. Even the best bait catchers have off days. Keep a block of frozen chum and a few Sabiki rigs on the boat at all times. If the live bait decides not to cooperate, you will still have options to get a bite going. Being prepared is the mark of a serious angler.