
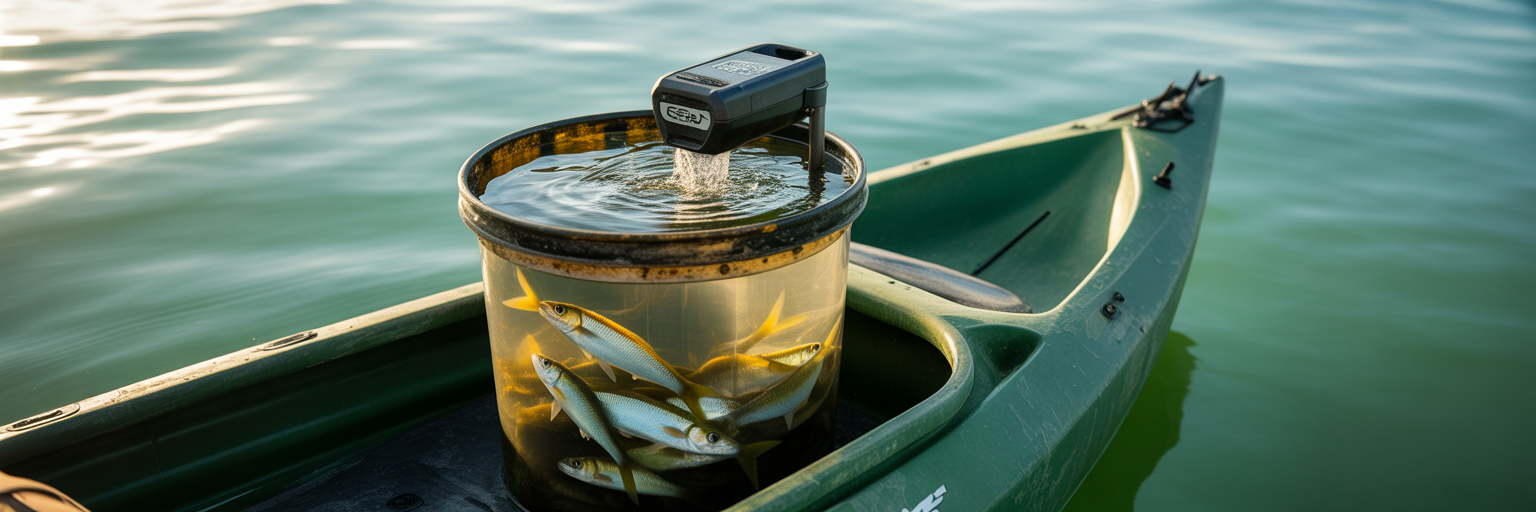
Every Florida kayak angler knows the feeling. You have spent an hour catching prime bait, paddled to your spot, and the snook start busting just off the mangrove line. You reach into your bait bucket for a lively pilchard and pull out a limp, dead one. That is not bad luck. It is a preventable equipment failure. The solution is a system built around effective portable aerators for kayak bait, a critical tool for any serious angler.
Why You Need Portable Aerators for Kayak Bait
The science behind bait death in a sealed bucket is simple: your bait suffocates. It is like trying to breathe in a sealed closet. The available oxygen gets used up fast, and without a fresh supply, your bait goes belly up. This problem is made much worse by the Florida Factor. Our warm air and water temperatures are the real enemy of live bait. Warmer water holds significantly less dissolved oxygen, which means bait dies exponentially faster here than in cooler climates. This is the core challenge of how to keep bait alive in a kayak.
A portable aerator is not a luxury or a “nice-to-have” accessory for Florida fishing. It is a non-negotiable piece of gear. It works by continuously pumping air through a diffuser, creating bubbles that dissolve oxygen back into the water. This process directly counters the effects of heat and bait respiration, keeping your shrimp, pilchards, or pinfish active and irresistible to predators. Think of it as life support for your bait.
Without proper aeration, you are on a countdown timer from the moment you put bait in the bucket. The stress of capture, combined with declining oxygen levels and rising water temperature, creates a lethal combination. You might start a trip with four dozen frisky shrimp, only to find half of them dead an hour later. That is wasted time, wasted money, and most importantly, a wasted opportunity when the bite turns on.
A quality aeration system is the definitive solution. It is an investment that directly translates to more time with active, appealing bait in the water. When a big redfish is cruising a foot from your kayak, you want to offer it a kicking shrimp, not a lifeless corpse. An aerator ensures your bait is just as ready for action as you are, which ultimately means more fish in the kayak.
Matching Aerator Output to Your Bait Load
Once you accept that an aerator is essential, the next step is choosing the right one. Not all aerators are created equal, and matching the unit’s performance to your specific needs is critical. This comes down to understanding output, bait type, and our unique Florida conditions. Getting this right is the difference between bait that survives and bait that thrives.
Understanding Aerator Output: Liters Per Minute (LPM)
The single most important metric for an aerator is its output, measured in Liters Per Minute (LPM). This number tells you how much air the pump can move. More air means more potential for dissolved oxygen. For most kayak applications using a standard 5-gallon bucket, you need an aerator capable of producing 0.8 to 1.5 LPM. This range is generally sufficient to maintain the target dissolved oxygen level of 5-8 milligrams per liter (mg/L) that most bait species require.
Calculating Needs for Different Bait Types
Different baits have different oxygen demands. Hardy baits like mud minnows or small pinfish are relatively tough and can survive with lower oxygen levels. Delicate, high-energy baits like whitebait (pilchards and greenbacks) or live shrimp are far more sensitive. They burn through oxygen quickly and require a more powerful aerator to stay lively. The rule is simple: the more bait you have, or the more delicate the bait, the higher the LPM you need. Overcrowding a bucket and underpowering the aerator is a guaranteed recipe for dead bait.
The Florida Heat Rule: Adjusting for Temperature
Here is a critical rule for fishing in our climate: you must increase aeration as the water temperature rises. A good guideline is to double the aeration for every 10°F increase in water temperature. The aerator setting that keeps your shrimp kicking on a cool 75-degree morning will have them dying by a 90-degree afternoon. For hot summer days, you need an aerator that can run constantly at a higher output. This is where having a powerful, reliable unit becomes the best aerator for live bait in Florida.
The Importance of a Micro-Bubble Diffuser
The aerator pump is only half the equation. The other half is the air stone, or diffuser, that sits in your bucket. The best systems use a micro-bubble diffuser. These stones create thousands of tiny bubbles instead of a few large ones. Smaller bubbles have more surface area relative to their volume, which allows oxygen to dissolve into the water much more efficiently. They also create less turbulence, reducing stress on your bait. A quality air stone ensures you get the maximum benefit from the air your pump is producing.
| Bait Type | Quantity (Dozen) | Water Temp (75°F / 24°C) | Water Temp (85°F+ / 29°C+) |
|---|---|---|---|
| Shrimp | 2-3 Dozen | 1.0 LPM | 1.5 – 2.0 LPM (Intermittent) |
| Pilchards / Greenbacks | 2-3 Dozen | 1.2 LPM | 2.0+ LPM (Constant) |
| Pinfish (2-3 inch) | 1-2 Dozen | 0.8 LPM | 1.5 LPM (Intermittent) |
| Mud Minnows / Killifish | 3-4 Dozen | 0.8 LPM | 1.2 LPM (Intermittent) |
Note: These recommendations are a starting point. Always observe your bait. If they are gasping at the surface, your oxygen levels are too low. Constant-run settings are recommended for delicate bait in high heat.
Powering Your System for All-Day Trips
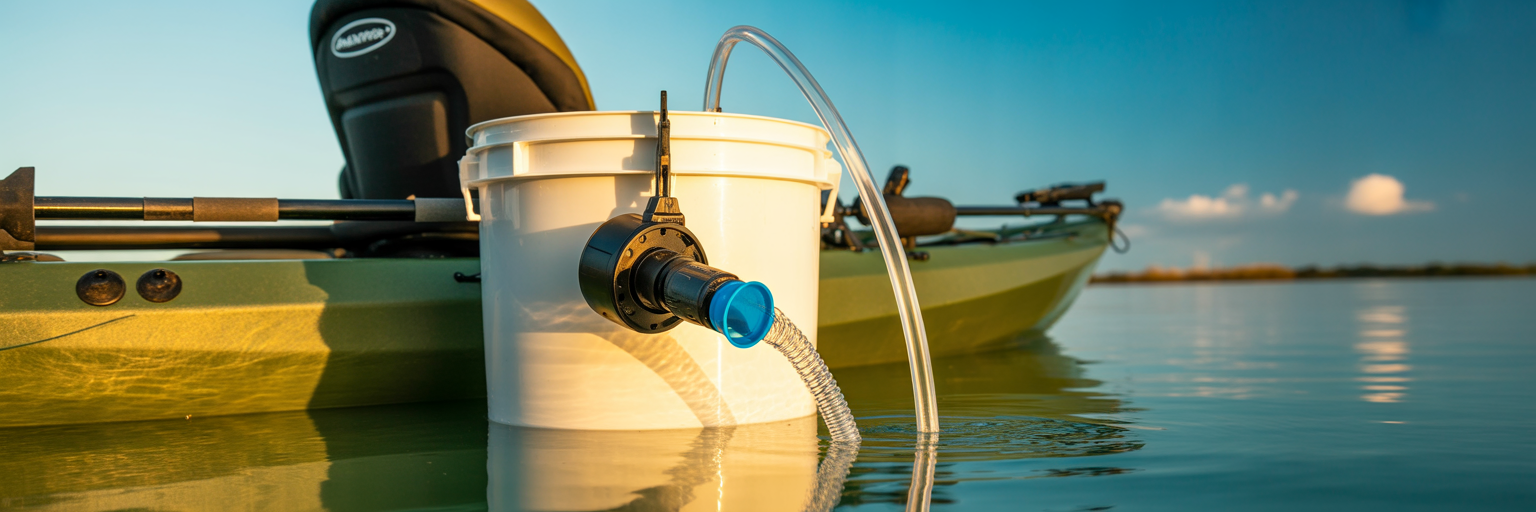
An aerator is useless if its batteries die halfway through your trip. Ensuring your system has enough power to last from launch to landing is just as important as its LPM output. Modern technology has made this easier than ever, but you need to know what to look for. Reliability is the goal, and that means choosing the right power source and understanding its capabilities.
Rechargeable vs. Disposable: A Clear Winner
In the past, most portable aerators ran on disposable C or D cell batteries. Today, the clear winner is the modern rechargeable unit. Look for models with internal lithium-ion batteries and, ideally, a USB-C charging port. While the initial cost might be slightly higher, the long-term benefits are undeniable. You will save money on disposable batteries and avoid the frustration of realizing you are out of fresh ones right before a trip. A rechargeable aerator can be topped off in your truck on the way to the launch, ensuring you always start with a full charge.
Decoding Battery Life: What mAh Ratings Really Mean
Battery capacity is measured in milliamp-hours (mAh). A higher mAh rating means a larger battery and, therefore, a longer runtime. Do not get lost in the technical jargon. Think of it in practical terms. A quality aerator with a 3600 mAh battery might run for 18-20 hours on its constant setting or over 36 hours on an intermittent cycle. This is more than enough for even the longest days on the water. Match the battery capacity to your typical trip length. If you fish long 8-hour days in the summer heat, a larger battery is not a luxury, it is a necessity.
The Power-Saving Secret: Intermittent Mode
An intermittent mode is an essential, non-negotiable feature for a kayak aerator. This function cycles the pump on and off automatically, often running for a minute and then resting for a minute. This simple feature can extend your battery life by 30-50%. On long, hot Florida days, this is crucial for conserving power while still providing enough oxygen to keep bait healthy. For hardier bait or cooler conditions, intermittent mode is all you need, saving your battery for when you really need it.
Mandatory for Saltwater: IPX7+ Waterproofing
Saltwater is relentless. It corrodes, it destroys, and it will find its way into any electronic device that is not properly sealed. Any aerator you consider for saltwater kayak fishing must have a high waterproof rating. The rating you should look for is IPX7 or higher. An IPX7 rating means the device can be fully submerged in one meter of water for up to 30 minutes without failing. This ensures your aerator will survive the inevitable spray, rain, and even an accidental drop into the water. A non-waterproof aerator is a temporary aerator in a saltwater environment.
Essential Features for Kayak Transport
A powerful, long-lasting aerator is a great start, but it is useless if it does not work within the unique environment of a kayak. A kayak is a dynamic platform. It gets bounced around on the drive, dragged across sand, and paddled through chop. The aerator and its container must be designed to handle this movement without spilling, failing, or getting in your way. A proper kayak bait bucket setup considers these physical challenges from the start.
First, consider how the aerator mounts to the bucket. It needs a strong, secure attachment. A flimsy clip will get knocked off the first time you slide your kayak into the water or paddle through a boat wake. Look for models with robust, integrated clips that grip the bucket rim tightly. Some advanced models even use powerful magnetic mounts. Whatever the system, it must be solid enough to stay put through a full day of activity.
Next, the container itself is critical. You need a bucket with a tight-sealing, gasketed lid. This is non-negotiable. A simple snap-on lid will allow saltwater to splash out with every wave, filling your cockpit with corrosive water and potentially ruining other gear. The lid must also have a small, dedicated port for the air tube to pass through. This allows you to run the aerator while keeping the lid securely sealed against splashes.
Quiet operation is another feature that experienced kayak anglers value. A loud, buzzing aerator is more than just an annoyance. On calm, shallow flats, that constant vibration can travel through the water and spook wary fish. When you are stalking tailing redfish in the skinny waters of Mosquito Lagoon, the last thing you want is a noisy motor announcing your presence. Choose a model known for low noise and minimal vibration.
Finally, do not overlook the small components. The air hose should be made of kink-resistant silicone tubing. Cheap plastic tubing can easily pinch, cutting off airflow without you realizing it. The air stone should be a weighted model that stays planted at the bottom of the bucket. This ensures oxygen is introduced from the bottom up, allowing it to rise through the entire water column for maximum efficiency. These small details complete a system built for performance on the water.
Building the Ultimate Kayak Bait Container
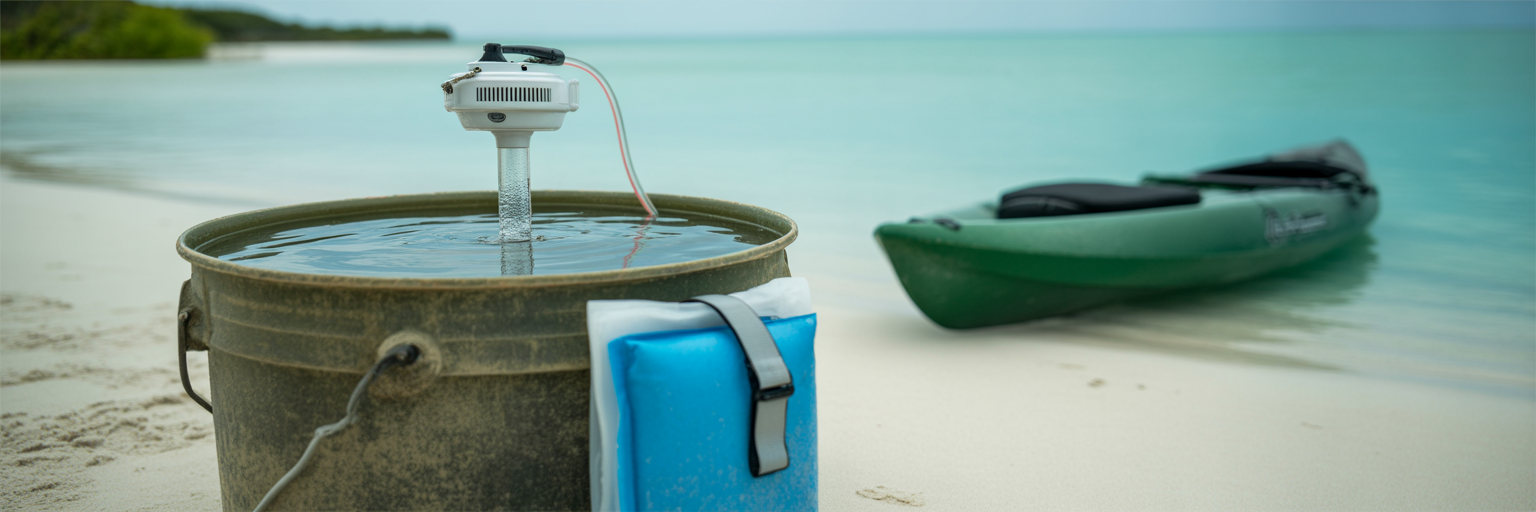
Putting together the right components creates a bait system that is efficient, practical, and keeps your bait in prime condition. While you can buy specialized, insulated bait coolers, a properly configured 5-gallon bucket is often the most practical and cost-effective solution for most kayak anglers. Its footprint fits well in most tankwells, and when set up correctly, it performs exceptionally well.
The most common mistake anglers make is overcrowding. This will kill your bait faster than anything else, even with a great aerator. A hard rule to follow is the “one inch of baitfish per gallon of water” guideline. This means you need to be realistic about how much bait your container can support. For example:
- A 5-gallon bucket with 3 gallons of usable water can support about 30 one-inch pilchards.
- That same bucket can only support about 15 two-inch pinfish.
Overloading the bucket spikes ammonia levels and depletes oxygen faster than any aerator can replace it. This type of Florida inshore fishing bait is too valuable to waste through simple mistakes.
Managing heat is the next challenge. You must keep the water cool, but never put ice directly into the bait bucket. This causes rapid temperature shock and can leach chlorine or other chemicals from the ice into the water, which is lethal to bait. Instead, place one or two frozen water bottles around the exterior of the bucket. Secure them with bungee cords. This will slowly cool the bucket walls and the water inside without shocking the bait.
Water management is also key. Whenever possible, fill your bucket with water from the same area you will be fishing. This avoids shocking the bait with a sudden change in salinity or temperature. During a long trip, you may need to perform a partial water change. If you see the water becoming cloudy or notice bait gasping at the surface despite the aerator running, it is time for a change. Carefully pour out about one-third of the water and slowly replace it with fresh water from your fishing spot. Keeping your bait healthy and lively is a cornerstone of successful live bait fishing.
Transport and On-Water Best Practices
Having the best gear is only half the battle. Your habits and procedures before, during, and after a trip play a huge role in bait survival. Following a few simple steps will prevent most common failures and ensure your bait is in top shape when it is time to make a cast. These live bait management tips are what separate consistently successful anglers from those who are always struggling with their bait.
Before you even leave the house, run through a quick pre-trip checklist. It only takes two minutes and can save you a world of frustration:
- Is the aerator fully charged? Plug it in the night before or in the truck on the way. Never assume it has a charge.
- Is the hose and air stone clear? Give it a quick puff of air to ensure there are no clogs from salt or slime from the last trip.
- Does the lid seal tightly? Check the gasket and make sure the lid locks down securely.
When loading your kayak, secure the bait system in the rear tankwell. This is the most stable location and keeps it out of your way while paddling and fishing. Use bungee cords to lock it down tightly. A tipping bait bucket is a disaster that can end a trip before it even starts. Make sure it is accessible enough that you can reach in for bait, but secure enough that it will not move in choppy water.
Minimize bait stress before you even launch. On the drive to the ramp, avoid sudden stops and starts that slosh the water violently. If the bucket is in the bed of your truck, keep it in a shaded spot, not in the direct sun. Heat is your enemy from the moment the bait enters the bucket. A stressed bait has a much shorter lifespan, even with perfect aeration.
Finally, be proactive on the water. Do not just set it and forget it. Every 30 minutes, take a quick glance at your bait. Are they swimming calmly or gathered at the surface? Listen for the familiar hum of the aerator. A sudden silence could mean a dead battery or a clogged hose. Catching a problem early gives you a chance to fix it before you lose your entire bait supply.
Simple Maintenance for Peak Performance
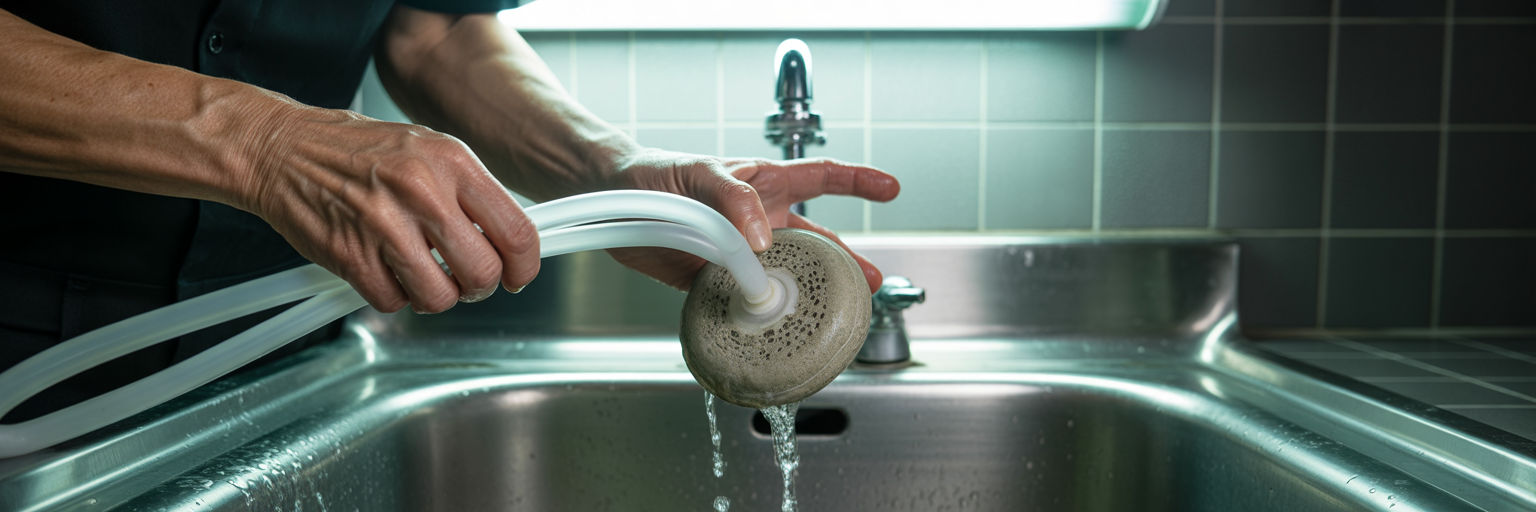
Your investment in one of the best portable aerators for kayak bait deserves to be protected. A few minutes of simple maintenance after each trip will ensure your system remains reliable for years. Saltwater, slime, and scales are corrosive and will cause failures if left unchecked. A consistent cleaning routine is not optional, it is mandatory for longevity.
Follow this post-trip cleaning routine every single time you come off the water:
- Rinse everything with fresh water. The bucket, lid, tubing, and the aerator unit itself (if waterproof) should be thoroughly rinsed to remove all salt residue. Salt crystals will clog your air stone and corrode electrical components.
- Wash the bucket. A quick wash with mild soap and water will remove bait slime and scales that can cause odors and bacterial growth.
- Dry completely. Before storing, make sure all components are completely dry to prevent mildew and corrosion.
Pay special attention to the air stone and tubing. A porous stone can clog quickly with salt and organic matter. After rinsing, you can clear a stubborn clog with a stiff brush or by back-flushing it with water. However, air stones are inexpensive. If it looks clogged or damaged, just replace it. It is a cheap part that is not worth risking a bucket of expensive bait over.
For rechargeable aerators, proper battery care is important. Avoid storing the unit with a completely dead battery for long periods, as this can damage its long-term health. A good practice is to keep it at a 50-80% charge during the off-season. A quick charge every month or two is all it takes.
Finally, store your clean, dry system in a cool, dry place like a garage cabinet or gear closet. Keep it out of direct sunlight and away from extreme temperatures. This simple discipline ensures that when you are ready for your next trip, your bait life support system is ready to perform.