

The sun is just cracking the horizon, you are running offshore, and the air is thick with anticipation. Up ahead, you spot it, a perfect weed line littered with debris, a floating buffet for hungry predators. This is the moment where preparation separates a hopeful boat ride from a successful fishing trip. The right gear setup is what turns that opportunity into a fish in the box. Using braid for Florida mahi fishing is a fundamental part of that modern preparation, but it demands a specific approach.
Braided line is the standard for a reason. Think of the difference between monofilament and braid like this: mono is a stretchy rubber band, while braid is a solid wire. This difference gives braid three huge advantages. It is incredibly thin for its strength, it has almost zero stretch so you feel every tap, and you can pack a massive amount of it onto your reel. These properties have completely changed how we target mahi offshore.
However, simply spooling braid onto a reel is not enough. Its unique characteristics require a complete system. Without the right leader, knots, and balance, braid’s strengths can quickly become liabilities. The lack of stretch that gives you incredible sensitivity can also lead to pulled hooks from a mahi’s soft mouth or a snapped line on a violent headshake. Your connection to the fish is only as strong as its weakest link.
This article is your guide to mastering that system. We will cover exactly how to choose the right pound test for different situations, how to rig it for trolling and casting, and how to build the critical leader connection. We will also show you which knots will not fail when a big bull mahi is screaming drag off your reel.
Why Braid for Florida Mahi Fishing is a Game-Changer
The sun is just cracking the horizon, you are running offshore, and the air is thick with anticipation. Up ahead, you spot it, a perfect weed line littered with debris, a floating buffet for hungry predators. This is the moment where preparation separates a hopeful boat ride from a successful fishing trip. The right gear setup is what turns that opportunity into a fish in the box. Using braid for Florida mahi fishing is a fundamental part of that modern preparation, but it demands a specific approach.
Braided line is the standard for a reason. Think of the difference between monofilament and braid like this: mono is a stretchy rubber band, while braid is a solid wire. This difference gives braid three huge advantages. It is incredibly thin for its strength, it has almost zero stretch so you feel every tap, and you can pack a massive amount of it onto your reel. These properties have completely changed how we target mahi offshore.
However, simply spooling braid onto a reel is not enough. Its unique characteristics require a complete system. Without the right leader, knots, and balance, braid’s strengths can quickly become liabilities. The lack of stretch that gives you incredible sensitivity can also lead to pulled hooks from a mahi’s soft mouth or a snapped line on a violent headshake. Your connection to the fish is only as strong as its weakest link.
This article is your guide to mastering that system. We will cover exactly how to choose the right pound test for different situations, how to rig it for trolling and casting, and how to build the critical leader connection. We will also show you which knots will not fail when a big bull mahi is screaming drag off your reel.
Matching Braid Strength to Mahi and Method
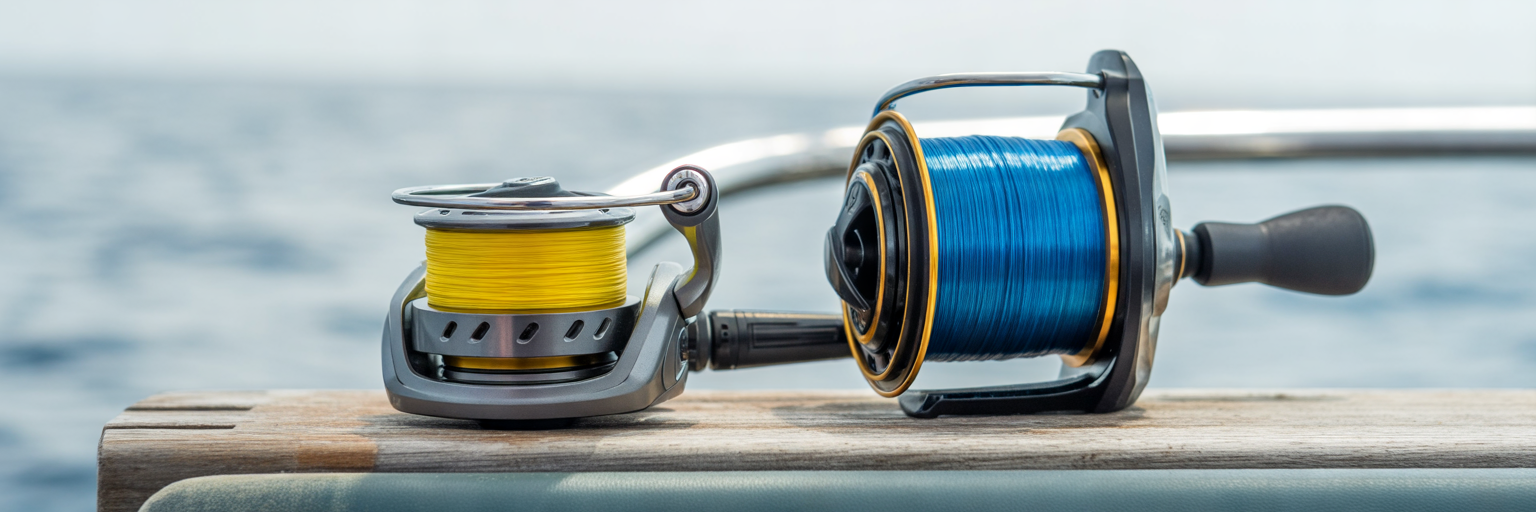
The first step in building your system is choosing the right line strength. This is not about buying the strongest line you can find. It is about matching the line to the fish you are targeting and the technique you are using. Using 80-pound braid to cast for schoolies is overkill, and throwing 20-pound braid at a 50-pound bull is asking for trouble. The goal is balance.
The Sweet Spot for Spinning and Pitching
When you are casting lures or pitching live baits to weed lines, 20 to 30-pound braid is the sweet spot. This range is the perfect compromise. It is more than strong enough to handle schoolie and gaffer-sized mahi up to about 25 pounds. At the same time, its thin diameter allows you to launch a small bucktail or live pilchard a long distance, which is critical for reaching fish without spooking them. The sensitivity of this lighter braid also lets you feel the instant a mahi picks up your bait.
Stepping Up for Trolling and Big Bulls
Trolling is a different game with different stresses. For conventional trolling setups, you need to step up to 50 to 80-pound braid. This is not just about the size of the fish. This heavier line is built to withstand the constant, grinding pressure of pulling trolling leads, planers, and dredges through the water for hours. More importantly, it can handle the violent shock of a 40-pound bull mahi smashing a lure at seven knots. Lighter braid simply cannot endure that abuse day after day.
Pairing Braid with Your Rod Class
Your line is only one part of the equation. It must work in harmony with your rod. Putting 80-pound braid on a light spinning rod rated for 20-pound line is a recipe for a broken rod, not a landed fish. The rod is designed to bend and absorb the shock of a fight. Overpowering it with excessively heavy braid defeats its purpose and puts all the strain on your reel and your knots. The line rating on your rod is your guide to creating a balanced and effective system.
| Technique | Target Mahi Size | Recommended Braid Strength | Typical Rod Class | Primary Advantage |
|---|---|---|---|---|
| Casting / Pitching | Schoolies to Gaffer (5-25 lbs) | 20-30 lb | Medium-Heavy Spinning (15-30 lb rating) | Casting distance and sensitivity |
| Live Baiting | All Sizes | 30-50 lb | Medium-Heavy to Heavy Spinning/Conventional | Bite detection and hook-setting power |
| Trolling (Flat Lines) | Gaffer to Bull (15-50+ lbs) | 50-65 lb | Heavy Conventional (30-50 lb rating) | Durability and line capacity |
| Trolling (Planer / High-Speed) | All Sizes (High Stress) | 65-80 lb | Extra-Heavy Conventional (50-80 lb rating) | Strength to handle heavy drag and shock |
Tactical Braid Applications for Mahi
With the right pound test selected, you can now apply braid’s advantages tactically on the water. It is not just about strength, it is about how the line’s properties improve your efficiency and hookup ratio in specific scenarios. This is where you move from just having the right gear to using it with purpose.
Casting to Weed Lines and Debris
When you spot a pack of mahi holding on a floating pallet or a thick weed mat, braid is your best tool. Its thin diameter cuts through the wind, allowing you to make long, accurate casts that land your lure right in the strike zone without alerting the fish to your boat’s presence. The zero-stretch property means the moment a mahi grabs your lure and turns, you are instantly connected. There is no lag or sponginess, just a solid hookset that drives the point home before the fish can spit the hook.
Trolling Spreads with Precision
Braid also makes your trolling spread more effective. Because it is so thin, it creates far less water resistance than monofilament. This allows your lures to run deeper and track truer without needing excessively heavy trolling leads. For serious trollers, the best braid for trolling is often multicolored. By spooling different colors on different reels, for example yellow for port and blue for starboard, you can instantly identify which line was hit in a chaotic multiple-fish strike. This simple trick helps you manage your spread and get lines back in the water faster. Just as with certain Florida bottom fishing rigs where you need to feel the bottom, braid’s sensitivity in trolling lets you feel if your lure is running clean.
Pitch-Baiting and Live-Baiting
There is no substitute for braid’s sensitivity when pitch-baiting or live-baiting. When you pitch a chunk of ballyhoo to a lit-up mahi, you will feel the faint ‘tick’ through the line as the fish picks it up. With mono, that subtle bite can be masked by line stretch. This sensitivity is a huge asset when using various live bait rigs that clear Florida turtle grass, allowing you to feel the bait’s every movement. This direct feedback lets you know the exact moment to engage the reel and come tight. While this article focuses on the line, remember it is part of a complete system, much like the setups detailed in our Florida inshore fishing gear guide.
For all its advantages, braid’s rigidity is also its greatest liability. It provides almost no shock absorption. This is why a proper leader is not just recommended, it is absolutely essential for landing mahi consistently.
The Critical Shock Absorber: Your Leader System
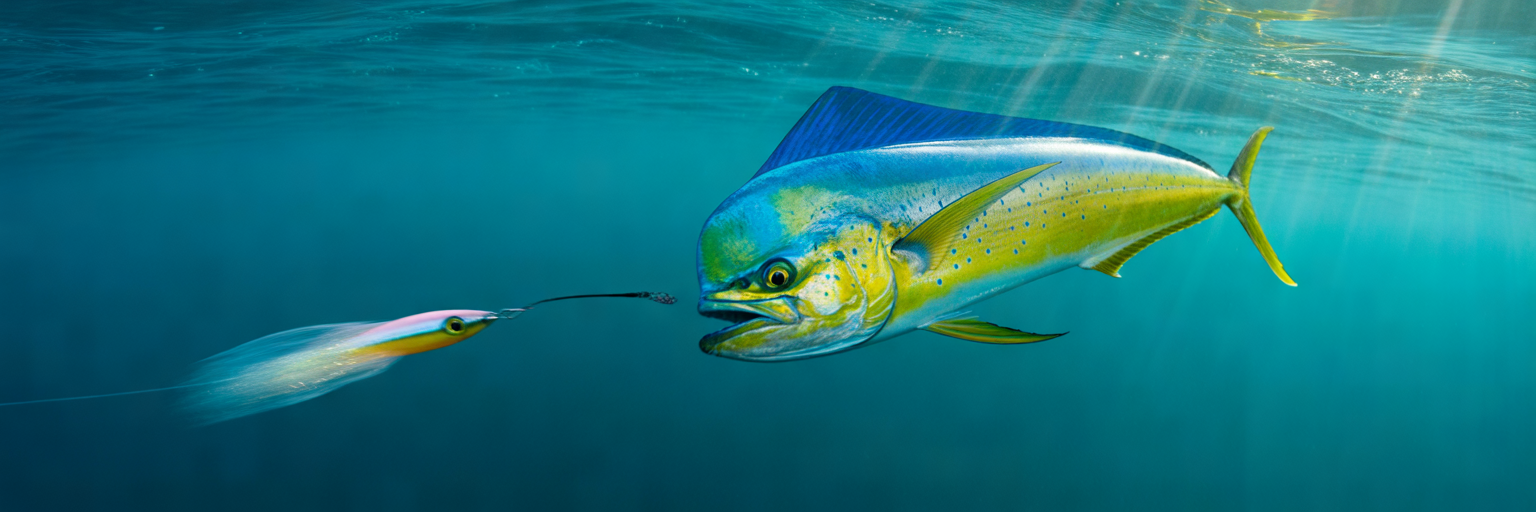
The single most important component in your braid setup is the leader. Think of it as the suspension system for your fishing line. A big mahi’s fight is a series of violent headshakes, blistering runs, and acrobatic jumps. Without the ‘give’ of a leader, the rigid, no-stretch braid system will either pull the hook from the fish’s soft mouth or cause a catastrophic break-off at the knot. A leader is non-negotiable.
Why a Leader is Non-Negotiable
A leader serves two primary functions. First, it provides shock absorption. The slight stretch in a monofilament or fluorocarbon leader cushions the violent jolts of a fight, keeping steady pressure on the fish and preventing the hook from tearing free. Second, it provides stealth and abrasion resistance. The clear material is far less visible to line-shy fish in clear water, and it holds up much better to the raspy teeth and abrasive tail of a mahi.
Monofilament vs. Fluorocarbon: The Trade-Offs
The debate between leader materials is constant among offshore anglers. As noted by The Fisherman, fluorocarbon’s low visibility and abrasion resistance make it a top choice for leader material, while mono’s stretch is invaluable for shock absorption. For mahi, the choice depends on your technique. A fluorocarbon leader for mahi is nearly invisible underwater, making it the top choice for casting and pitch-baiting to wary fish. It is also incredibly tough. Monofilament, on the other hand, has more stretch, which makes it an excellent shock absorber, especially for the jarring strikes that happen during trolling. It is also more affordable, which is a real consideration for long trolling leaders.
Leader Length and Strength for Different Rigs
Leader length and strength should be tailored to your rig. For casting and pitching, a 6 to 10-foot leader is standard. This is long enough to provide stealth and shock absorption while keeping the connection knot outside the rod tip for smooth casting. For trolling, you will use a much longer section of monofilament called a ‘top shot’. This can be anywhere from 50 to 150 feet of mono connected between your braid and your final lure leader. This creates a massive shock-absorbing cushion that is critical for high-speed trolling strikes. As a rule, your leader should be the same or slightly lighter pound test than your main line, creating a deliberate weak point so you only lose a leader, not hundreds of yards of braid.
Mastering Braid-to-Leader Connections
You can have the best rod, reel, and line, but it all means nothing if your knot fails. The connection between your braid and your leader is the most common point of failure in the entire system. A bad knot will cost you fish, period. The goal is a connection that is both incredibly strong and slim enough to fly through your rod guides without snagging. Here are the three knots every mahi angler needs to know.
The FG Knot: The Undisputed Champion
The FG knot for saltwater is the top-tier, professional-grade connection. When tied correctly, it is the slimmest and strongest braid-to-leader knot you can make, retaining nearly 100% of your line’s breaking strength. Its slim profile allows it to pass effortlessly through rod guides, which is critical when casting. The downside is its complexity. It takes practice to tie correctly, especially on a rocking boat. But if you are serious about eliminating tackle failure, this is the knot to master.
The Double Uni Knot: The Reliable Workhorse
For most anglers, the Double Uni is the go-to knot for connecting braid to a leader. It is strong, dependable, and much easier to tie under pressure than the FG knot. While it is a bit bulkier, its reliability has made it a staple in the offshore community for decades. If you can only learn one connection knot, this is the one. It is a proven performer that will not let you down when a gaffer is on the line.
The Alberto Knot: The Slim and Simple Alternative
The Alberto Knot, or Modified Albright, is a fantastic middle ground. It is significantly slimmer than a Double Uni but far less complex to tie than an FG. It was specifically designed for joining lines of different diameters, making it perfect for braid-to-leader connections. The key to a strong Alberto is to make sure your wraps are tight and neat and to always moisten the knot with saliva before cinching it down. It is a quick, reliable knot that offers a great balance of strength and simplicity.
Maximizing Spool Capacity and Line Management
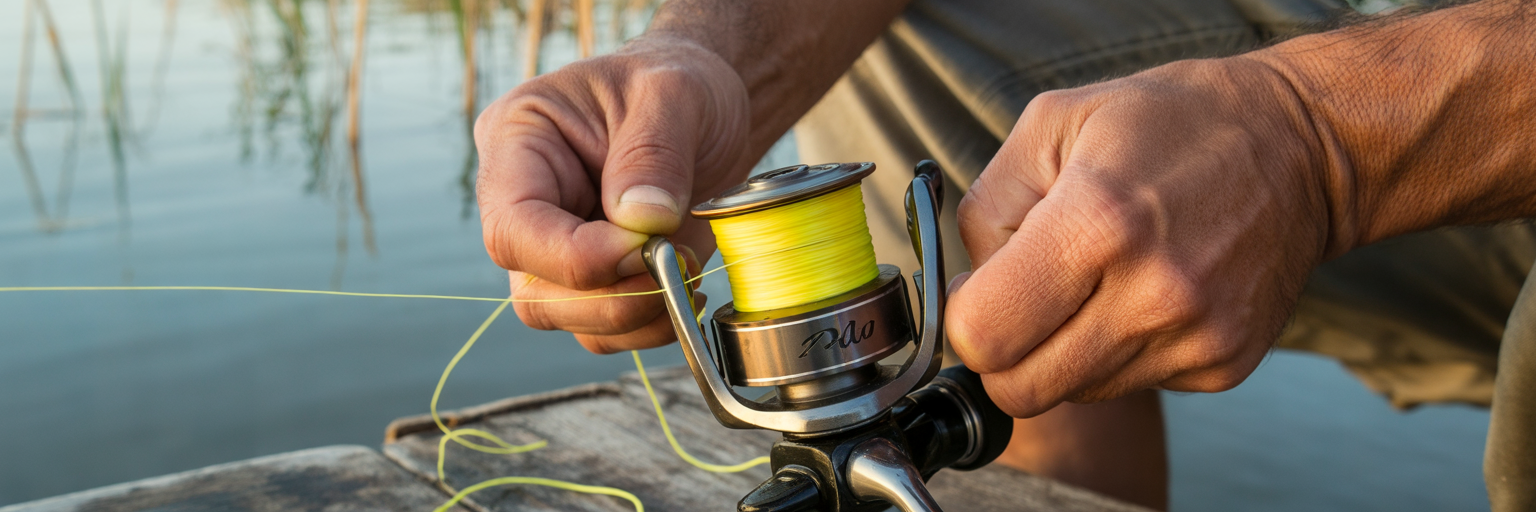
One of braid’s biggest advantages is its thin diameter, which translates directly to increased line capacity. This is not just about bragging rights, it is about having the insurance you need when a big bull mahi decides to dump half your spool on a blistering run toward the horizon. A reel like a Shimano Saragosa 6000 might hold 240 yards of 20-pound mono, but you can pack on over 350 yards of 30-pound braid.
To get the most out of your reel, you must first address the issue of backing. Braid is incredibly slick and can slip on a bare metal spool under heavy drag, causing your entire spool of line to spin uselessly. The solution is to first put on a base layer of cheaper monofilament. This ‘backing’ serves two purposes. It grips the spool to prevent any slippage, and it saves you money by filling the bottom half of the spool so you do not need to buy 600 yards of expensive braid to fill a large offshore reel.
Next is the process of how to spool braided line correctly. This is critical. A loosely spooled reel is the number one cause of ‘wind knots’ and line digging into itself under pressure. You must pack the line onto the reel under significant tension. The best way to do this is to have a friend hold the filler spool with a wet rag to apply pressure while you crank. The line should feel firm to the touch on the reel, with no soft spots.
Finally, consider line color as a tactical tool. High-visibility colors like yellow, lime green, or white are excellent for tracking your line in the water, seeing subtle bites, and managing a complex trolling spread. Low-visibility colors like dark green or gray offer maximum stealth, though this is less critical when you are already using a long, clear leader. The choice comes down to whether you prioritize seeing your line or hiding it.
Creating a Balanced Rod and Reel System
We have talked about line, leaders, and knots, but it is time to put it all together. The rod, reel, and line are a team, and they must work together as a balanced system. An unbalanced setup, where one component overpowers the others, is inefficient and prone to failure. This is about more than just line strength, it is about how that strength interacts with your hardware.
Pay close attention to the line rating printed on your rod, for example, ‘20-40 lb’. This does not indicate the rod’s breaking strength. It is the optimal range of line strength for which the rod is designed to load, cast, and fight a fish effectively. Using braid that far exceeds this rating puts all the stress on the rod blank and reel components, risking a catastrophic failure when you can least afford it.
This concept is directly connected to your reel’s drag capabilities. A common rule of thumb is to set your drag at 25% to 30% of your line’s actual breaking strength. There is no benefit to using 80-pound braid if your reel can only safely produce 15 pounds of drag pressure. You are not utilizing the line’s potential, and you have created an imbalance where the line is far stronger than the rest of your system. Here are two examples of perfectly balanced setups:
- A Go-To Casting Setup: A 7-foot medium-heavy spinning rod rated for 15-30 pound line, a 5000 or 6000 size spinning reel, spooled with 30-pound braid and a 30-40 pound fluorocarbon leader. This is a perfect all-around setup for casting to schoolies and gaffers.
- A Standard Trolling Setup: A 6-foot heavy conventional trolling rod rated for 50-80 pound line, a 30W size conventional reel, spooled with 65-pound braid and a 100-yard top shot of 60-pound mono. This system is built to handle the stress of trolling and the power of big fish.
Advanced Braid Considerations for Experts
Once you have mastered the basics, there are a few advanced considerations that can give you an extra edge. This is for the angler who is looking to optimize every aspect of their gear for peak performance. It is about fine-tuning your system to match your specific style of fishing.
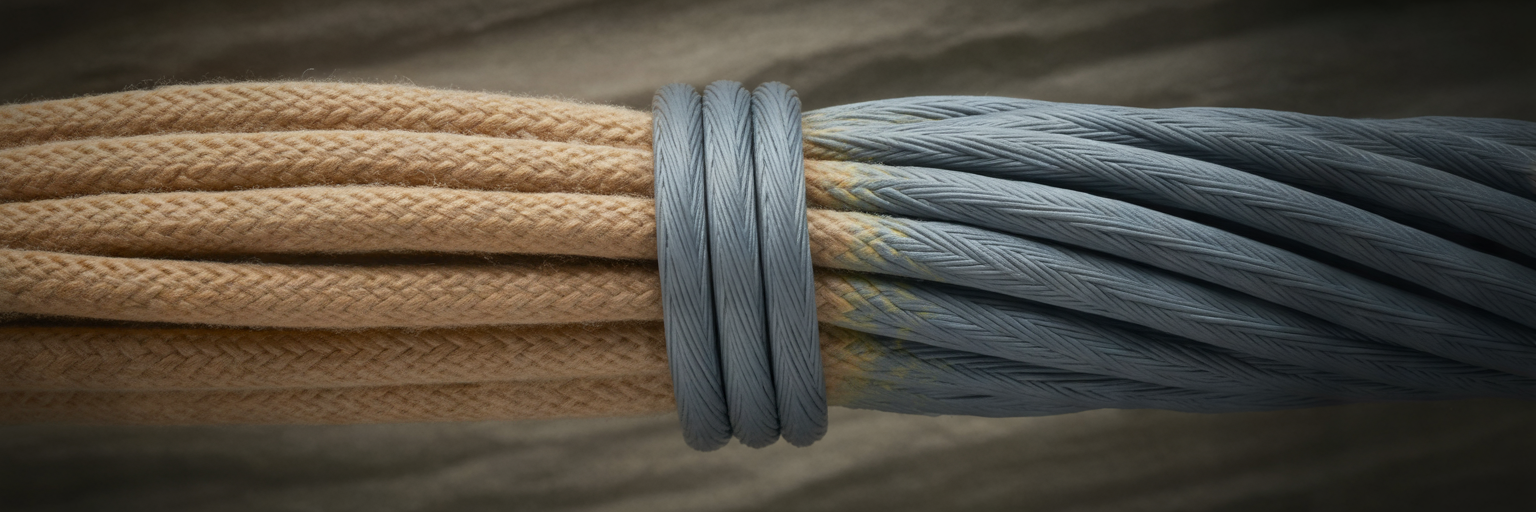
First, consider braid construction. Braided lines typically come in 4-strand or 8-strand (or higher) weaves. 4-strand braid is often tougher and more abrasion-resistant, almost like a small rope, making it a solid choice for the rigors of trolling. 8-strand braid is smoother, rounder, and quieter as it passes through the rod guides. This translates to longer casting distance and better sensitivity, making it the preferred choice for many avid casting anglers.
Next, let’s address the dreaded ‘wind knot’. This common frustration occurs when a loop of slack line forms on a spinning reel and gets tangled on itself during a cast. You can prevent most wind knots by following a few simple rules. Always close the bail of your spinning reel by hand, not by cranking the handle. After closing the bail, give the line a quick pull to ensure it is tight on the line roller before you start reeling. Finally, avoid throwing very light lures into a stiff headwind, as this is a prime cause of slack line.
For the ultimate in high-end performance, there is hollow-core braid. This unique line allows for knotless, spliceable connections. The leader is inserted directly inside the hollow braid, creating a 100% strong connection that is perfectly smooth and passes through guides with zero friction. This is the system favored by tournament professionals and those targeting the largest pelagic gamefish. Lastly, remember to perform regular line maintenance. Periodically check the last 10-15 feet of your braid for any nicks or frays, and cut off any damaged sections. After a season of heavy use, you can often reverse the line on your spool. The fresh, unused line from the bottom becomes your new mainline, effectively doubling its lifespan.
Your Mahi Braid Rigging Checklist
Before you head out on your next trip, run through this simple checklist. Think of it as your pre-trip cheat sheet to ensure your gear is perfectly rigged and ready for action. Getting this right on land means you will not have to worry about it when the bite is on.
- Technique & Target: Make your first decision. Are you casting for schoolies along a weed line? Go with 20 to 30-pound braid for casting distance and sensitivity. Are you trolling for big bulls offshore? Step up to 50 to 80-pound braid to handle the stress.
- Leader Selection: Remember the rule. For casting and pitching, a 6 to 10-foot fluorocarbon leader provides stealth and abrasion resistance. For trolling, a 50 to 150-foot monofilament top shot is essential for shock absorption.
- Knot Choice: Know your connections. Master the Double Uni knot for a reliable, all-purpose connection you can tie anywhere. Practice the FG Knot at home when you are ready for the strongest, slimmest connection possible.
- System Balance: Perform the final check. Ensure your mahi fishing line strength is within your rod’s recommended rating. Set your reel’s drag to 25-30% of the line’s breaking strength to create a balanced, effective system.
By moving beyond a simple ‘spool-and-go’ mentality and adopting this systematic approach to rigging braid, you can eliminate gear failure as a variable. You will turn more bites into landed fish and have the confidence to handle any mahi that comes your way.