

For a kayak angler, few things are more important than understanding water movement. A misjudged tide is not just an inconvenience, it can end your trip before it starts or leave you in a dangerous spot. Mastering tide chart reading is the single most critical skill you can develop after basic weather safety. It is the foundation for every successful day on the water, turning a hopeful paddle into a calculated hunt. This guide breaks down exactly what you need to know to make the tide your greatest ally.
Fundamentals of Tide Chart Reading for Florida Anglers
We have all heard the stories, or maybe even lived one. The long, miserable drag across an oyster-riddled mud flat because the water disappeared hours before you expected. Or paddling with everything you have against a current that feels like a treadmill set on high. These are not just bad luck, they are failures in planning. For those of us powered by a paddle instead of a motor, the tide dictates everything. It determines where you can launch, where you can fish, and whether you can get home safely.
Why Tides Matter More for Kayakers
A boater with a 200-horsepower engine might get annoyed by a low tide, but for a kayak angler, it is a trip-ender. Your draft is measured in inches, and your motor is your own two arms. This makes you far more vulnerable to changes in water level. Getting stuck a mile from the launch is a real possibility. So is finding yourself in a channel where an outgoing tide is moving faster than you can paddle. Understanding the tide is not an academic exercise, it is your primary tool for safety and success.
Decoding the Basic Tide Chart
A tide chart can look intimidating, but it is simpler than you think. Think of it as the slow, predictable breath of the ocean. The incoming tide is the inhale, bringing water levels up to a peak, or high tide. The outgoing tide is the exhale, draining water out to its lowest point, or low tide. When you learn how to read a tide chart, you are simply learning to time your trip with this rhythm. The chart shows you a curve with peaks (highs) and valleys (lows), each marked with a specific time and height. Your job is to align your plan with that curve.
Understanding Tide Height (Tidal Range)
The numbers on the chart, like +3.5 ft or -0.5 ft, represent the water height relative to a baseline average called Mean Lower Low Water (MLLW). While interesting, the most important number for an angler is the tidal range, which is the difference between the high and low tide heights. A bigger range means faster water movement. A 4-foot tide swing in Jacksonville moves a massive amount of water and creates strong currents. A 1.5-foot swing in the Panhandle creates a much slower, gentler flow. This difference in speed is what triggers fish to feed.
Finding Your Local Tide Station
In Florida’s complex coastal geography, “close enough” is not good enough for tide data. In a place like Tampa Bay, the tide time at the mouth of the bay can be more than an hour different from a station deep in the backcountry. The same is true for the Indian River Lagoon. Always use the tide station nearest to your launch spot. The most reliable and up-to-date information comes directly from the source. Before every trip, make it a habit to check the official NOAA Tides & Currents portal for your specific location. This simple check is the first step in a solid plan.
Florida’s Three Distinct Tidal Personalities
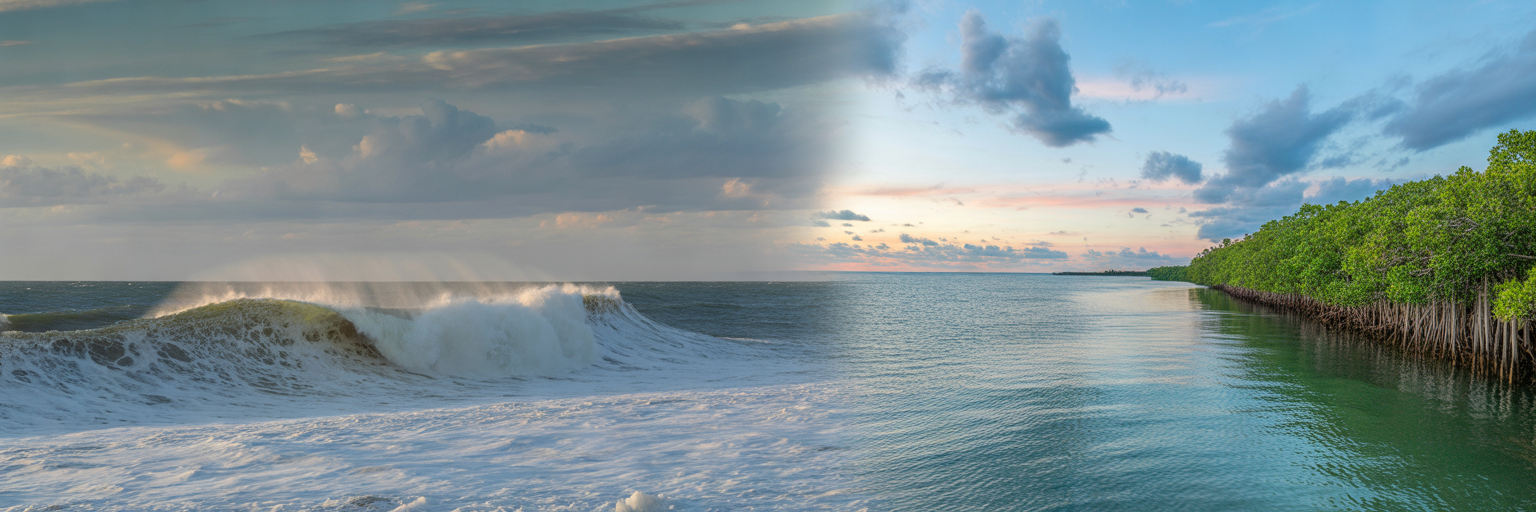
One of the biggest mistakes anglers make is assuming Florida’s coastline behaves uniformly. It does not. The state has three distinct tidal environments, and knowing which one you are fishing in is critical. The strategy that works on the Atlantic coast will fail you on the Gulf, and the Keys are a different game altogether. A smart angler understands these personalities and adjusts their plan accordingly. This knowledge is one of the most valuable Florida kayak fishing tips you can learn.
The Atlantic Coast’s Semidiurnal Rhythm
From Jacksonville down to Miami, the Atlantic coast offers the most predictable pattern: two high tides and two low tides of roughly equal height every single day. This is called a semidiurnal tide. For kayak anglers, this means planning is relatively straightforward. The tidal range is significant, often 3 to 6 feet, which creates strong, reliable currents. Your entire day should be built around timing the four-hour windows of moving water between the high and low marks. This is when the bite will be hottest.
The Gulf Coast’s Mellow and Mixed Tides
The Gulf coast is a completely different animal. The tidal pattern is often diurnal, meaning only one high and one low tide per day, or mixed, with two very unequal tides. The tidal range is much smaller, typically just 1 to 3 feet. This means the currents are slower. Here, a steady wind can have more influence on water levels than the tide itself. A strong onshore wind can pile water up and keep a flat flooded long after the tide chart says it should be draining. An offshore wind can blow all the water off a flat, leaving it dry even on a rising tide. On the Gulf, you must fish the wind as much as you fish the tide.
The Florida Keys’ Complex Mixed System
Welcome to the expert-level challenge. The Keys are where the Atlantic and Gulf tidal systems collide, creating a complex and sometimes confusing environment. You will find significant time differences and current patterns between the ocean side and the bay side of the same island. Success here depends less on the main tide chart and more on reading the water as it flows through the hundreds of cuts and channels. This moving water is the lifeblood of the ecosystem, creating ambush points for predators and highways for migrating species like tarpon. You have to watch the water itself to know what is truly happening.
| Feature | Atlantic Coast | Gulf Coast | Florida Keys |
|---|---|---|---|
| Tidal Pattern | Semidiurnal (2 highs, 2 lows per day) | Diurnal or Mixed (Often 1 high, 1 low) | Mixed (Complex interaction of Atlantic/Gulf) |
| Tidal Range | Larger (3-6 ft) | Smaller (1-3 ft) | Variable, moderate range |
| Current Speed | Strong and predictable | Slower, often wind-driven | Complex and channel-dependent |
| Primary Influence | Moon/Tide Chart | Wind Direction and Speed | Local Channels and Wind |
| Angler’s Focus | Timing the 4-hour moving water window. | Factoring wind’s effect on water level. | Reading current in cuts and passes. |
Matching Tides to Your Kayak Fishing Plan
A tide chart is just data. The real skill is turning that data into a concrete strategy for your day on the water. This is the core of planning a kayak fishing trip. It is about looking at the numbers and visualizing your entire route, from the moment your kayak touches the water to the moment you pull it out. Every decision, from where you launch to when you head home, should be guided by the tide.
The Launch Window: Can You Get In?
Your first decision is the most basic: can you even launch? That beautiful, grassy shoreline you scouted at high tide could be a hundred-yard-wide mud pit at low tide, impossible to cross. A concrete boat ramp might be too steep or end ten feet from the water’s edge on a negative low. Before you even load the car, look at the tide chart for your planned arrival time. This is a simple go or no-go decision that can save you from a wasted trip and a lot of frustration.
Planning Your Route: Accessing the Skinny Water
This is the heart of your strategy. The tide is your key to unlocking the best fishing spots. There are two primary ways to use it. On a falling tide, you can position your kayak at the mouth of a creek or a drain coming off a large flat. As the water pours out, it forces baitfish and shrimp with it, creating a natural chum line for predators like snook and redfish waiting to ambush them. On a rising tide, you can do the opposite. Use the incoming water to push deep into mangrove tunnels and onto shallow flats that are completely dry at low tide. This lets you reach unpressured fish that have not seen a lure all day. This is where having the right approach is critical, and mastering some proven Florida sight fishing redfish tactics can make all the difference.
The Return Trip: Don’t Get Stranded
This is the most common and dangerous rookie mistake. You get focused on the fishing, push deeper and deeper onto a flat as the tide comes in, and completely forget about the return trip. You must plan your exit. Look at the tide chart before you leave the launch and identify the time you absolutely must start paddling back. Missing this window could mean being trapped on a draining flat, forcing you to drag your kayak over sharp, hull-slicing oyster bars in the dark. Always know your exit time.
The Four-Hour Rule: Targeting the Bite Window
While fish can be caught at any time, the most productive window is almost always the same: the two hours before and the two hours after a high or low tide. This is the “Four-Hour Rule.” Why? Because this is when the current is moving at its peak velocity. This strong flow disorients baitfish, sweeps them out of cover, and forces predators to feed actively. In contrast, the period of slack tide, right at the peak of high or low, is often a dead zone for the bite. The water stops moving, and the fish stop feeding. Plan your day to be in your best spot during these prime four-hour windows.
Current is King: Reading Water Movement
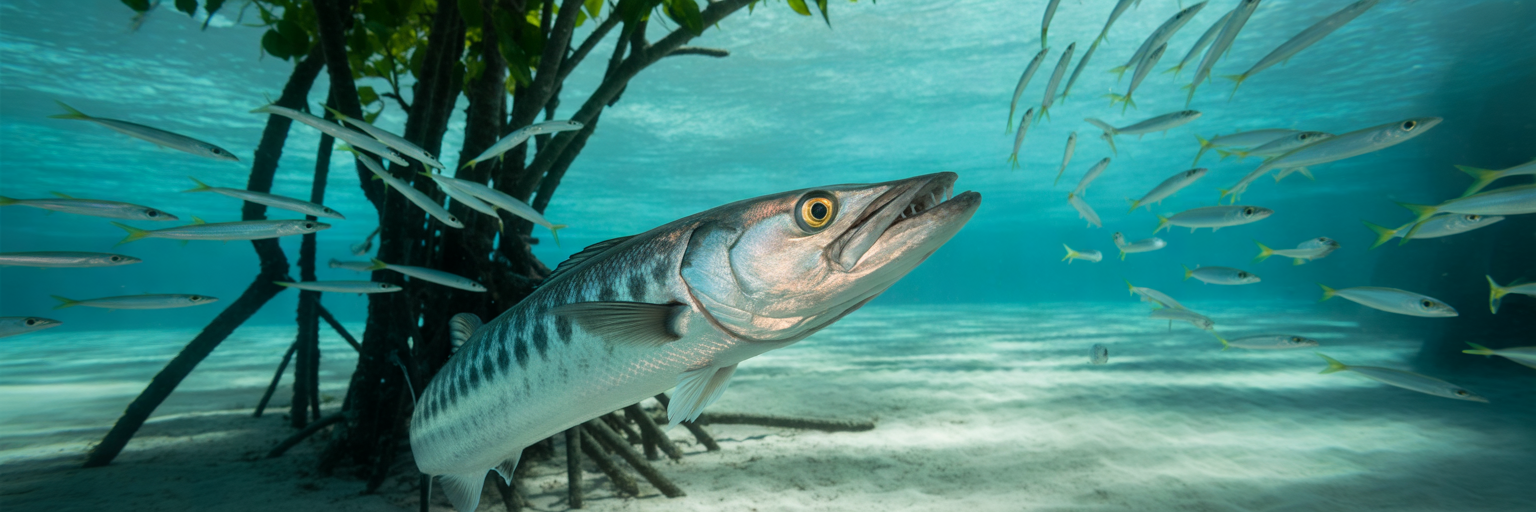
The numbers on a tide chart are your starting point, but the real information is written on the water itself. For an inshore angler, current is everything. It is the engine that drives the entire ecosystem. Predators are fundamentally lazy. They will not waste energy chasing food all over a flat. Instead, they use structure like oyster bars, mangrove points, and dock pilings as ambush points and wait for the current to deliver a meal. Your job is to think like a predator and identify these spots. Understanding this behavior is central to success, and there are several proven redfish fishing tips for Florida anglers that capitalize on this exact scenario.
Moving Water Equals Feeding Fish
Burn this into your brain: moving water equals feeding fish. The current acts as a conveyor belt for food. When the water is flowing, bait is moving, and predators are eating. When the water stops, the dinner bell goes silent. This is why the periods of slack tide at the peak of high and low are often the slowest part of the day. Your entire strategy should revolve around finding places where the current is concentrated and using it to your advantage. This is the secret to finding the best tides for inshore fishing.
Incoming vs. Outgoing: Two Different Games
Not all moving water is the same. An incoming tide and an outgoing tide create two completely different scenarios. An incoming tide brings cooler, cleaner, and saltier water from the ocean or gulf. It pushes baitfish up onto the flats and into the mangroves, and gamefish follow. This is often a great time for sight-fishing on shallow flats. An outgoing tide does the opposite. It pulls warmer, nutrient-rich water out of the backcountry marshes and creeks. This concentrates bait and fish at choke points like passes, channel bends, and creek mouths. Each stage presents a different opportunity.
Identifying ‘Fishy’ Spots on the Move
You can see current if you know what to look for. Train your eyes to spot these visual cues that scream “fish here”:
- Tide Rips: Look for visible lines or disturbances on the water’s surface. These often form where two currents meet or flow over an underwater point or bar. Predators love to hang on the edge of these rips.
- Eddies: Notice the calm, swirling water directly behind an obstruction like a bridge piling or a point of land. Fish will rest in this slack water, waiting to dart out into the main current to grab a meal.
- Color Changes: Pay close attention to where clear and murky water meet. This “seam” is a natural barrier that concentrates bait and attracts predators.
- Bait Behavior: The most obvious sign of all. If you see baitfish showering out of the water or schools of mullet looking nervous, something is hunting them from below.
Slack Tide: The Mid-Game Break
The bite will inevitably slow down at the peak of high and low tide. This is slack tide, when the water movement pauses before changing direction. Do not get discouraged. This is not the time to give up and paddle home. Instead, use it as a strategic break. This is the perfect time to re-rig your tackle, eat a sandwich, rehydrate, and pull out your map to plan your next move. The water will start moving again soon, and when it does, the bite will fire right back up. Be ready for it.
Beyond the Chart: Wind, Weather, and Water Depth
A tide chart is a forecast, not a guarantee. It is a prediction based on gravitational pull, but it does not account for the powerful real-world forces of wind and weather. A seasoned angler knows how to read the chart and then adjust based on what they see and feel on the water. This is about building confidence and learning how to adapt your plan on the fly. Having the right tools for the job is non-negotiable, and a solid understanding of Florida inshore fishing gear is just as important as reading the tide.
Wind’s Influence: The Tide Chart’s Biggest Rival
Wind is the great disruptor, especially on the shallow, expansive flats of Florida’s Gulf Coast. A strong, sustained onshore wind blowing in from the sea can physically stack water against the coast, creating a “wind-blown tide.” This can keep water levels artificially high for hours, preventing a flat from draining on schedule. Conversely, a strong offshore wind blowing from the land can drain a flat much faster than the chart predicts. This can leave you stranded and is a serious safety concern.
Reading the Wind Direction
Always check the wind forecast alongside the tide chart. The direction and speed of the wind interact directly with the tidal current. A wind blowing in the same direction as the current will accelerate the water flow, making the current stronger and potentially shortening the duration of that tide stage. A wind blowing against the current will slow it down, weaken it, and can create a messy, confused chop on the water. This chop can make paddling difficult and fishing uncomfortable. Understanding this interaction is key to predicting what the water will actually feel like.
Using Satellite Maps for Depth Clues
Here is a powerful modern tip for your pre-trip planning. Open up a satellite map service and zoom in on your target area. By cross-referencing what you see on the map with your tide chart, you can start to visualize how the area will change at different water levels. You can clearly see the deeper channels that will serve as fish highways on a falling tide. You can identify the small “potholes” and depressions on a flat that will hold water, and fish, even at dead low tide. This virtual scouting is an invaluable tool for finding spots that others overlook.
The Human Factor: Local Knowledge and Observation
Ultimately, charts and data are just tools. They do not replace your own eyes and brain. The best anglers are keen observers. When you get on the water, look for the real-time indicators of current. Which way is the grass on the flat laying? It will be bent in the direction of the flow. Which way are the birds on an oyster bar facing? They almost always face into the current. Feel the pull on your anchor line or stake-out pole. These simple, direct observations are the final piece of the puzzle. They tell you what is happening right now, right where you are.
Safety First: Avoiding Common Tidal Traps
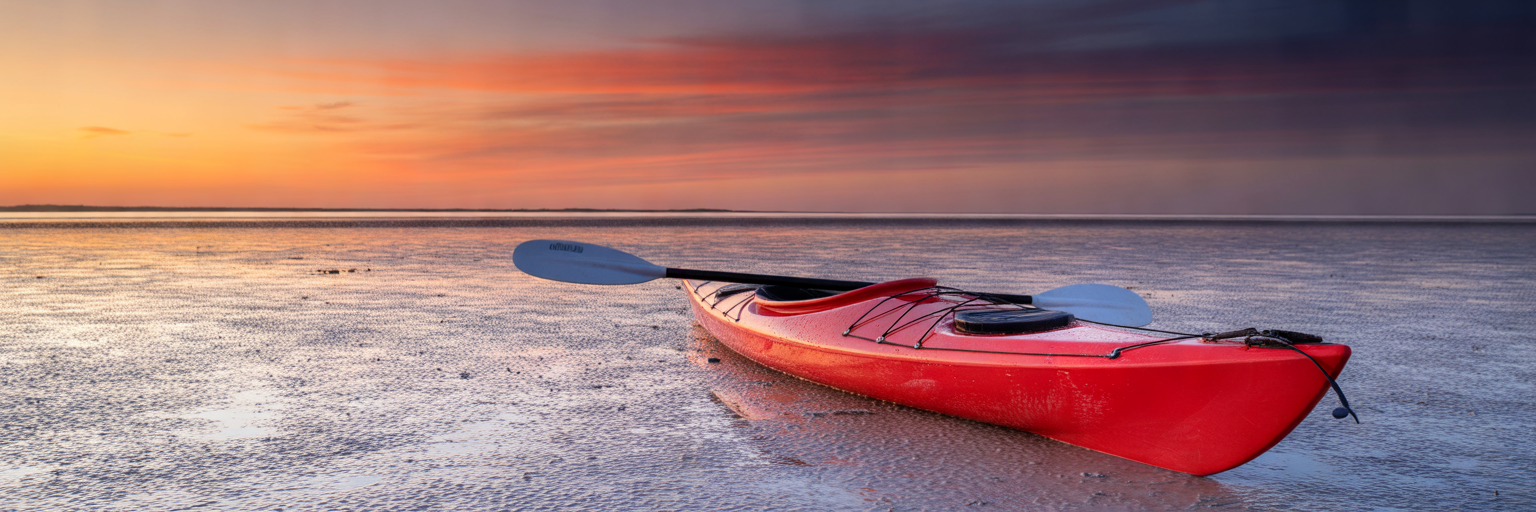
Let’s be direct: misjudging the tide is the fastest way to get into serious trouble in a kayak. The consequences range from a miserable experience to a genuine emergency. Understanding the risks is the first step toward avoiding them. This is not about fear, it is about respect for the power of the water. Good planning is the foundation of kayak fishing safety Florida, and it starts with the tide.
The Long Drag Back
Picture this: the sun is setting, you are tired from a long day of fishing, and you turn to head back to the launch. Except the water is gone. Your kayak scrapes bottom, and you realize the water’s edge is now a half-mile away across a field of sharp oysters and sticky mud. This is the “long drag back.” It is exhausting, it will destroy your gear, and it is dangerous. This situation is 100% preventable by simply respecting the outgoing tide and having a firm exit time.
Fighting the ‘Treadmill’: Outgoing Currents
Be extremely cautious around inlets and passes on a strong outgoing tide. Tidal currents in these natural choke points can easily exceed 3 or 4 knots, which is faster than most people can paddle for any sustained period. If you get caught, you can experience the “treadmill effect,” where you are paddling as hard as you can but staying in one place or even moving backward toward open water. This leads to rapid exhaustion and panic. Know the strength of the outgoing tide before you venture near any pass.
Launch and Landing Zone Awareness
The spot you launched from can look completely different a few hours later. A gentle, grassy slope at high tide can become a four-foot vertical mud bank at low tide, making it nearly impossible to get out of your kayak safely, especially when you are tired. Exposed oyster bars that were deep underwater are now razor-sharp obstacles that can slice through waders, skin, and even kayak hulls. Always scout your launch and landing zone and consider what it will look like at both high and low tide.
Building a ‘Paddling Budget’
This is a simple but powerful concept for safety and energy management. Whenever possible, plan your trip to ride the current out and ride the opposite current back in. For example, leave the launch on an outgoing tide to fish a spot down-current, and then ride the incoming tide back home. This is the smartest way to paddle. It dramatically extends your range, saves your energy for fighting fish, and most importantly, gives you a “free ride” home at the end of the day when you are most tired.
Putting It All Together: A Sample Trip Plan
Theory is great, but let’s make this practical. Here is how you apply everything we have discussed to build a simple, effective plan for a real-world fishing trip. This step-by-step process is the final piece of your tide chart reading education. It is a repeatable template you can use for any kayak fishing trip in Florida, turning you into a more calculated and successful angler.
The Scenario: Sight-Fishing Redfish on a Gulf Coast Flat
Let’s set the stage. Our goal is to sight-fish for tailing redfish. The location is a shallow grass flat near Pine Island Sound on the Gulf Coast. The challenge is that this flat is only deep enough for a kayak, and for redfish to feed comfortably, on the upper half of the tide. At low tide, it is mostly dry.
Step 1: Pre-Trip Data Collection
First, I check the data. I find the closest NOAA tide station, which is Matlacha Pass. The chart shows a high tide at 10:00 AM with a height of +2.5 feet. The following low tide is at 4:30 PM with a height of +0.5 feet. This gives me a tidal range of 2 feet, a typical mellow Gulf coast tide. Next, I check the wind forecast. It calls for a 10-knot wind from the west, which is an onshore wind.
Step 2: Forming the Game Plan
Now, I build the strategy. Based on the data, I will plan to launch at 8:00 AM. This puts me on the water two hours before the high tide, giving me plenty of time on the rising water to paddle out to the flat and get into position. The prime fishing window will be from 8:00 AM to 12:00 PM, covering the two hours before and the two hours after the high tide. This is when the water will be moving and the fish should be feeding most actively. The west wind is a bonus, as it will help hold a little extra water on the flat, giving me more time.
Step 3: The Exit Strategy
This is the most critical step. My plan is to stop fishing and start paddling back to the launch no later than 1:00 PM. I look at the tide chart and see that this gives me a generous three-and-a-half-hour buffer before dead low tide. This ensures I will have more than enough water to get off the flat easily. It also means I will avoid paddling against the strongest part of the outgoing current, which will likely be ripping from about 2:30 PM onward. This simple, three-step process is the key to a safe and successful day.