
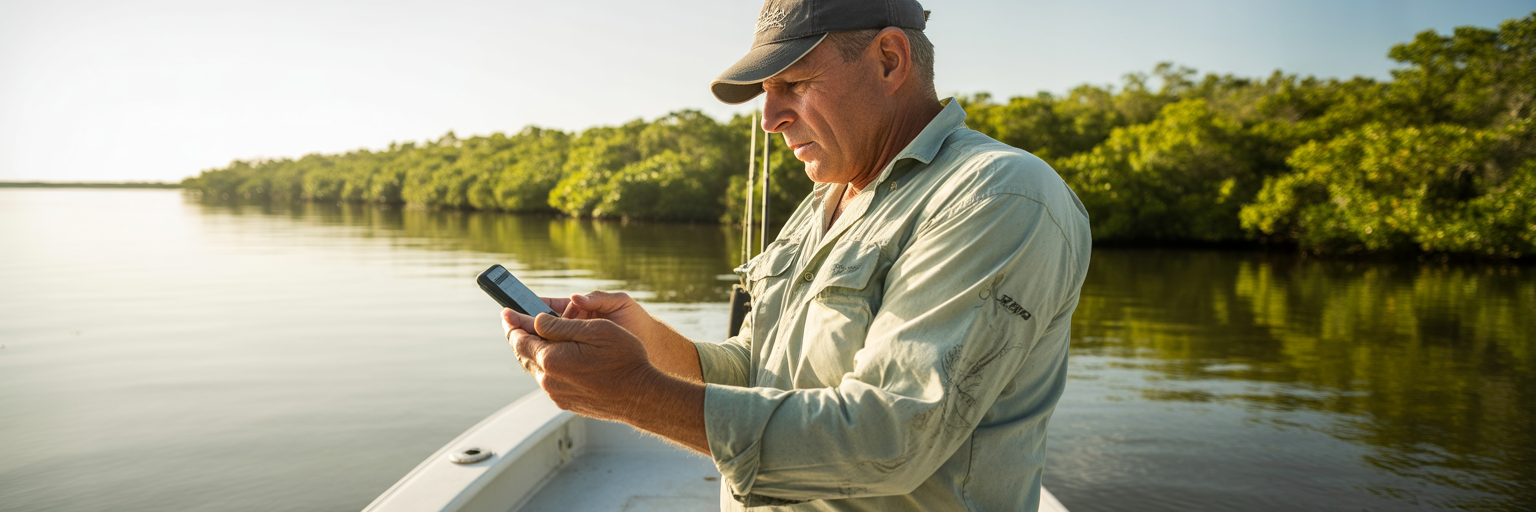
Any seasoned Florida angler knows the deal: moving water is the engine of the bite. Whether you are poling a skiff across a Mosquito Lagoon flat or dropping baits on a Gulf reef, water movement dictates when fish feed. The key to consistently being in the right place at the right time is mastering fishing tide charts. These charts are more than just numbers, they are a roadmap to finding active, feeding fish. This guide will show you how to read them like a pro and apply that knowledge to put more fish in the boat.
Why Florida Fishing Tide Charts Are Your Edge
A common mistake is glancing at a chart just to find the high and low tide times. The real action, the aggressive bites and feeding frenzies, happens in the hours between those peaks. This is when the current flows strongest, acting like a conveyor belt for bait. This flow pulls shrimp from the grass, crabs from pilings, and sweeps schools of baitfish into predictable ambush points where predator fish are waiting. Understanding this flow is the core of successful angling in the Sunshine State.
This article will teach you how to select the right chart, interpret the data for your specific location, and layer it with other critical factors like wind. Before we get into advanced strategies, it is crucial to have a solid grasp of the fundamentals of all fishing tide charts. Having that foundation makes the difference between guessing and knowing.
Florida’s geography makes this knowledge even more critical. The shallow, sprawling grass flats of the Gulf Coast behave completely differently than the deep, fast-running inlets of the Atlantic. A tide strategy that works for snook in Charlotte Harbor will fail for sailfish off Palm Beach. A one-size-fits-all approach to Florida fishing tides is a recipe for a slow day on the water. You need a location-specific plan, and it all starts with the right chart.
Tide vs. Current: The Difference That Gets You Bites
Let’s get this straight, because it’s the most important concept to understand. Tide is the vertical movement of water, the simple up and down. Current is the horizontal movement, the push and pull. As an angler, you care about the push and pull. Current is what gets you bites.
Think about it from the fish’s perspective. Predator fish are smart but lazy. They are not going to waste energy chasing food all over the bay. Instead, they position themselves where the current does the work for them. Moving water dislodges bait from cover. It washes shrimp out of mangrove roots, pulls crabs off bridge pilings, and forces baitfish into deep channels. The predators just sit there, waiting for this free delivery service to bring them a meal.
A great way to picture this is to think of an outgoing tide on a mangrove shoreline as shaking a vending machine. The tide is the shake, and all the baitfish, shrimp, and crabs are the snacks that fall out. The snook, redfish, and flounder waiting at the creek mouth or along a drop-off are just there to pick up what falls. They know exactly where to be to get an easy meal with minimum effort.
The main takeaway is this: the best bite is almost always during the fastest current, not at the dead high or dead low slack tide. Your goal as an angler should be to shift your focus from water height to water speed. When you start thinking about how fast the water is moving, you start thinking like a predator.
Reading a Chart for Maximum Flow
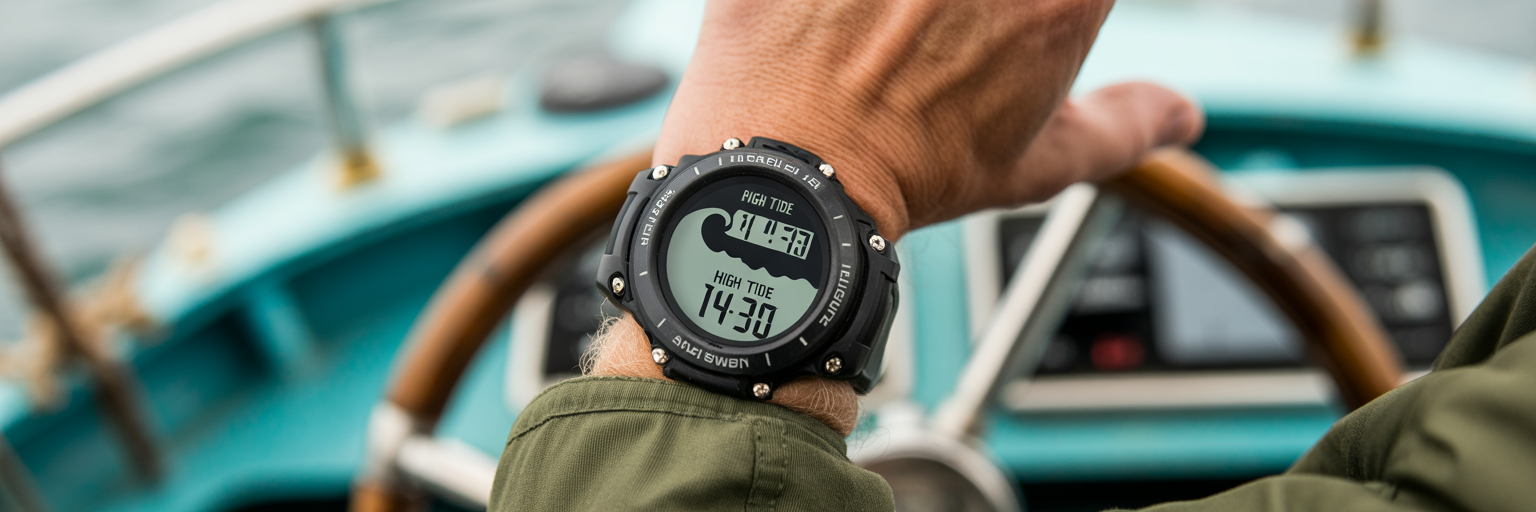
Once you understand that current speed is the key, your tide chart transforms from a simple timetable into a strategic weapon. The standard tide graph, which looks like a wave, gives you a visual representation of water speed. Here is how to read tide charts for fishing to find the fastest flow.
Finding the Steepest Curve
Look at the curve on your tide graph. The sections where the line is the steepest, whether it is going up for an incoming tide or down for an outgoing tide, represent the fastest water movement. This is the visual cue for your prime time feeding window. A gently sloping line means slow water and likely a slow bite. A steep, almost vertical line means the water is ripping, and the dinner bell is ringing.
The ‘Slack Tide’ Dead Zone
The flat top and bottom of the curve represent slack tide. This is the period of minimal water movement when the tide is changing direction. During these times, the bait conveyor belt stops. The vending machine is no longer being shaken. As a result, the bite often dies completely. While it can be a good time to switch spots or retie leaders, it is rarely the time you will find an aggressive bite.
Applying the 50-90 Rule
For a proven shortcut to identify the most productive part of a tide cycle, use the 50-90 rule. This rule of thumb states that the most intense bite often occurs in the window from 50 minutes before the peak high or low to 90 minutes after. This 140-minute window is your high-probability target zone. Here is how to find it:
- Locate the time of the peak high or low tide on your chart.
- Mark the point 50 minutes before this time.
- Mark the point 90 minutes after this time.
- Plan to have your baits in the water and be focused during this entire window.
Pinpointing the Right Florida Tide Station
Using the wrong tide station is one of the most common and costly mistakes an angler can make. It is the equivalent of using a map of Miami to navigate Tampa. For example, the tide at the Sunshine Skyway Bridge can be more than two hours different from the tide in a backwater creek in Safety Harbor. If your timing is off by two hours, you have completely missed the bite you planned for.
Finding the correct local station is straightforward. The gold standard for raw data is the official NOAA tide predictions Florida website. This is the source that nearly all other apps and services use for their information. While mobile apps like Tide Alert or Tides Near Me are convenient, you must verify which specific NOAA station the app is pulling data from. Do not blindly trust the “current location” feature, especially in complex backwater systems. Dig into the settings and match the station to your exact fishing spot.
A pro tip that saves many trips from failure is to double check time zones. Charts can be displayed in standard time (EST) or daylight time (EDT). Being off by an hour because you misread the time zone can mean arriving just as the bite is shutting down. As veteran anglers and publications like Florida Sportsman have noted for years, building confidence in your plan starts with using the right tide tables for your exact location.
How Wind Can Override Your Tide Chart
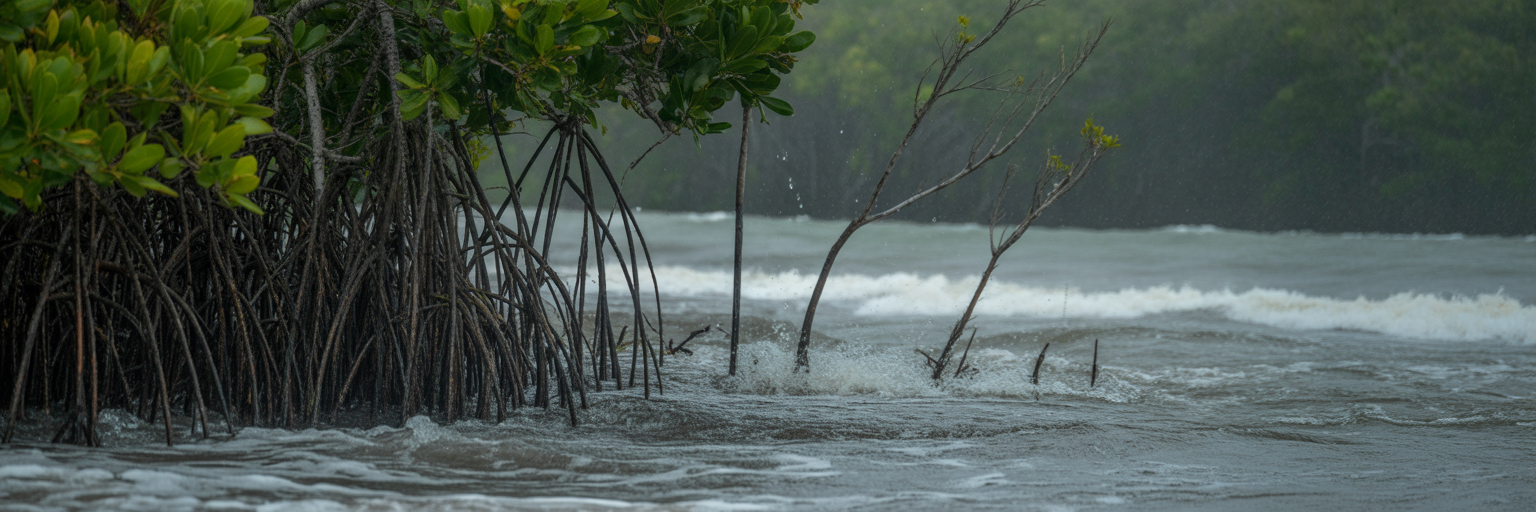
Tide charts are based on predictable astronomical forces. Wind, however, is the great disruptor. A strong, sustained wind is a powerful physical force that can completely alter water levels and currents, especially in Florida’s shallow bays and estuaries. Your tide chart might say one thing, but the wind can create a totally different reality on the water.
Imagine a 20-knot west wind pounding the Gulf Coast in Pine Island Sound. This wind acts like a wall, preventing the outgoing tide from fully draining. Water levels stay artificially high, and the current you were counting on never materializes. Conversely, a hard east wind can blow water out of a bay, creating a “blowout” or “negative” tide. This can leave flats bone dry, stranding boaters and concentrating fish in the few remaining deep holes.
The actionable rule is simple: always cross-reference the tide chart with the wind forecast. If the wind is forecast to be sustained at 15 knots or more, you must account for its effect. In expansive, shallow systems like the Mosquito Lagoon, Florida Bay, or the Big Bend, this is not an optional step. It is essential for both success and safety. Offshore, the wind’s effect on tide is less pronounced, but for any inshore angler, ignoring the wind is a gamble that rarely pays off. It is the difference between a great day and getting stuck on a sandbar waiting for the water to come back.
Tide Strategies for Inshore, Nearshore, and Offshore
Applying tidal knowledge correctly depends entirely on where you are fishing. The strategy for a backwater creek is completely different from the plan for an offshore reef. Here is how to tailor your approach to the zone you are targeting.
Inshore Strategy: Access and Ambush
For inshore fishing, it is a two-part plan. The incoming tide is about access. It is the dinner bell for redfish and seatrout, allowing them to push up onto shallow flats and shorelines that were dry just hours before. The strategy is to follow them into the skinny water. The outgoing tide is all about the ambush. This is the classic inshore fishing tide strategy. Set up at predictable ambush points like creek mouths, the edges of oyster bars, and swings in a channel to intercept bait being flushed out from the backcountry. This is where you will find snook and flounder waiting.
Nearshore/Pass Strategy: Harnessing the Funnel
In nearshore waters like passes, inlets, and around bridges, the game changes. Here, it is all about maximum current velocity. These areas act as funnels, concentrating the water flow and creating a fast-moving conveyor belt of food. The strategy is to fish the middle of the tide, either incoming or outgoing, when the flow is ripping its hardest. This is the time to target powerful fish like tarpon, permit, and big jack crevalle that use the strong current to their advantage.
Offshore Strategy: It’s About the Moon and Temps
Once you get several miles offshore, the daily astronomical tides have a much smaller impact on water movement. Here, you need to shift your focus to other cyclical patterns and conditions. The major lunar phases, new and full moons, create the strongest monthly tides and often correlate with better offshore bites for pelagic species like tuna, wahoo, and sailfish. More importantly, your focus should be on finding structure, water temperature breaks, and weed lines. These are the offshore highways and ambush points, and they are far more significant than the daily tide chart.
| Fishing Zone | Primary Focus | Target Tide Window | Key Structures to Fish |
|---|---|---|---|
| Inshore (Flats/Backwaters) | Water Level for Access & Current for Ambush | Last 2 hrs of Incoming & First 2 hrs of Outgoing | Mangrove shorelines, oyster bars, creek mouths, docks |
| Nearshore (Passes/Inlets) | Maximum Current Velocity | Mid-Tide (2-3 hours between high/low) | Bridge pilings, channel edges, rock jetties |
| Offshore (Reefs/Deep Water) | Lunar Phase & Water Conditions | Less dependent on daily tide; focus on New/Full Moon periods | Weed lines, temperature breaks, bottom structure (wrecks/ledges) |
Timing Tides for Florida’s Top Species
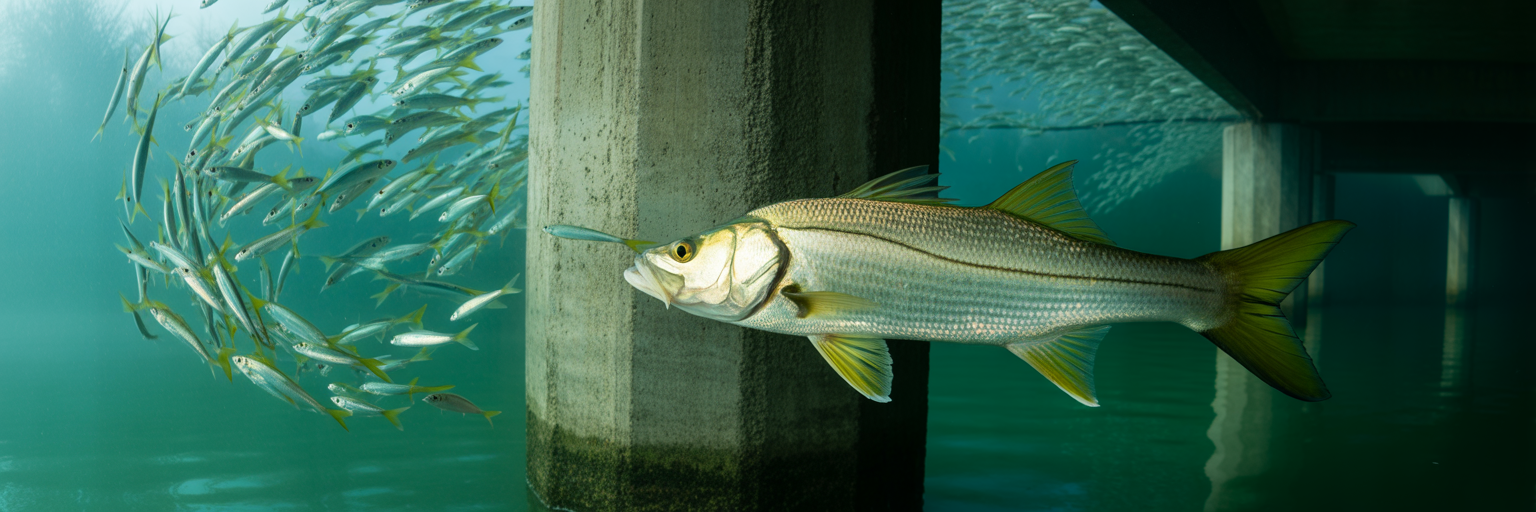
Different species have evolved to use tides in different ways. Dialing in your timing for a specific target is the final piece of the puzzle. Here is a breakdown for some of Florida’s most popular gamefish.
- Snook and Flounder: These are the ultimate ambush predators. They use structure like docks, seawalls, and mangrove roots to get out of the main current and wait for meals to be delivered. The best tide for snook fishing is definitively the outgoing tide. This is because it forces bait out of the backcountry and creates predictable feeding lanes where snook and flounder can lie in wait.
- Redfish and Seatrout: On open flats, these fish use the incoming tide to their advantage. They follow the rising water into skinny areas to hunt for crabs, shrimp, and small fish that were previously inaccessible. The strategy is to find them on the move, looking for tailing fish or pushes in the water as they feed in just inches of water.
- Tarpon: Tarpon patterns are closely tied to strong currents, especially in passes and along beaches. They feed most aggressively during the strongest tidal flows, which concentrate crabs and baitfish. This is why the new and full moon phases, which produce the strongest tides of the month, often trigger the best tarpon fishing.
- Grouper and Snapper: For nearshore and offshore reef fishing, a specific tide phase is less critical, but some current is absolutely necessary. A moderate current is needed to carry the scent of your chum and to present a bait naturally. A dead slack tide can shut down the bottom bite completely, as baits will sit lifelessly on the bottom and scent will not disperse.
Trip Planning, Timing, and Safety Rules
A successful trip starts long before you get to the ramp. It starts with a logical plan built around the tides. The process should always be: 1. Pick your target species. 2. This dictates the ideal tide phase you need. 3. Find the nearest, most accurate tide station for your spot. 4. Cross-reference with the wind forecast to see if your plan is realistic.
Safety is a huge part of this planning, especially for the shallow-water angler. You must understand the danger of “negative” or “blowout” tides. Getting stranded miles from the ramp because a hard offshore wind blew all the water out of a bay is a miserable, and potentially dangerous, experience. Always know the forecast and have a plan for how and when you will exit a shallow area if the water starts dropping faster than predicted.
This all leads to a core mindset shift: Plan your trip around the tide, do not just check the tide before you go. This means making a conscious decision to fish the morning incoming tide and launching at 6 AM, or waiting for the afternoon outgoing and launching at 2 PM. It is the opposite of just showing up at the ramp whenever it is convenient and hoping for the best.
Mastering tides is not a secret art. It is a skill that you can learn through observation and practice. It is the single most important factor in turning a good fishing spot into a great one, simply by ensuring you are there when the fish are actively feeding.
Your Ultimate Tide Planning Checklist
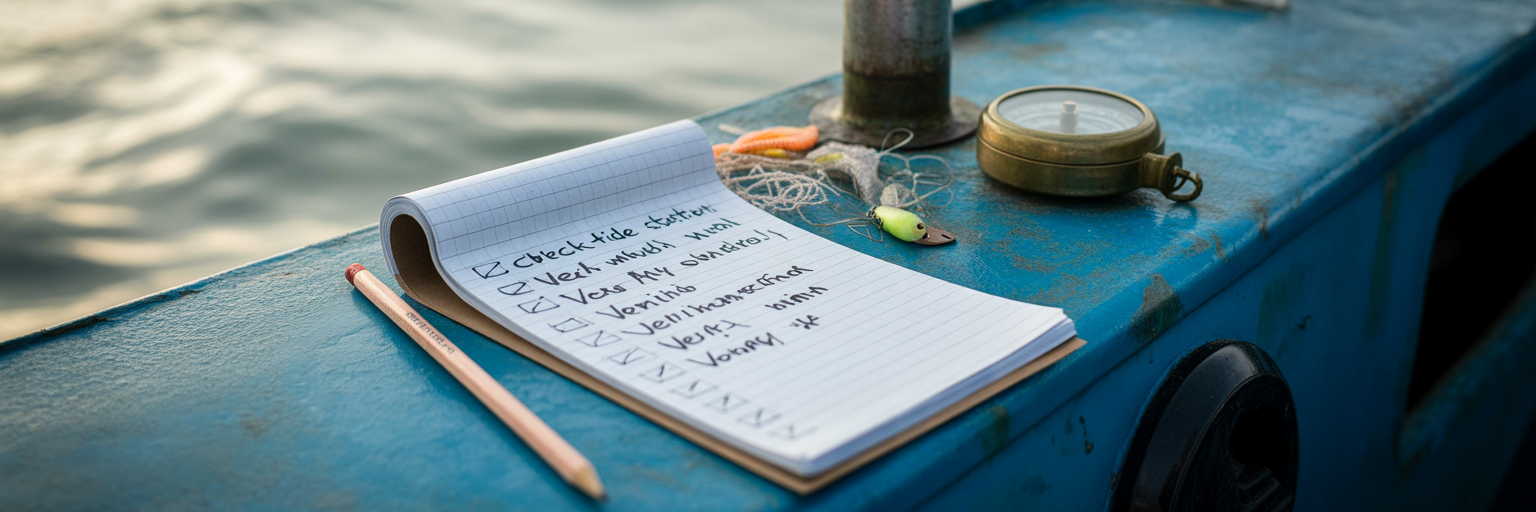
Use this as your pre-flight checklist before every fishing trip. It will ensure you have thought through the most critical element of your plan: the water movement.
- Define Your Target: What species are you after? (e.g., Snook, Redfish, Tarpon). This determines everything that follows.
- Pick Your Tide Phase: Based on your target, do you need an incoming, outgoing, or peak flow tide?
- Find Your Station: Locate the closest NOAA tide station to your specific fishing spot, not just the general area or the ramp.
- Identify the Window: Look at the tide graph. Pinpoint the 2-3 hour window where the curve is steepest. This is your target time.
- Check the Wind: Will the forecast wind direction and speed help, hurt, or completely override your chosen tide? Adjust your plan or location if needed.
- Safety Check: Is there a risk of a negative low tide in your area? Plan your exit route and timing to avoid getting stranded.
- Final Plan: Set your launch time to ensure you arrive at your spot just as your target tide window begins. This is how you use fishing tide charts like a professional.