
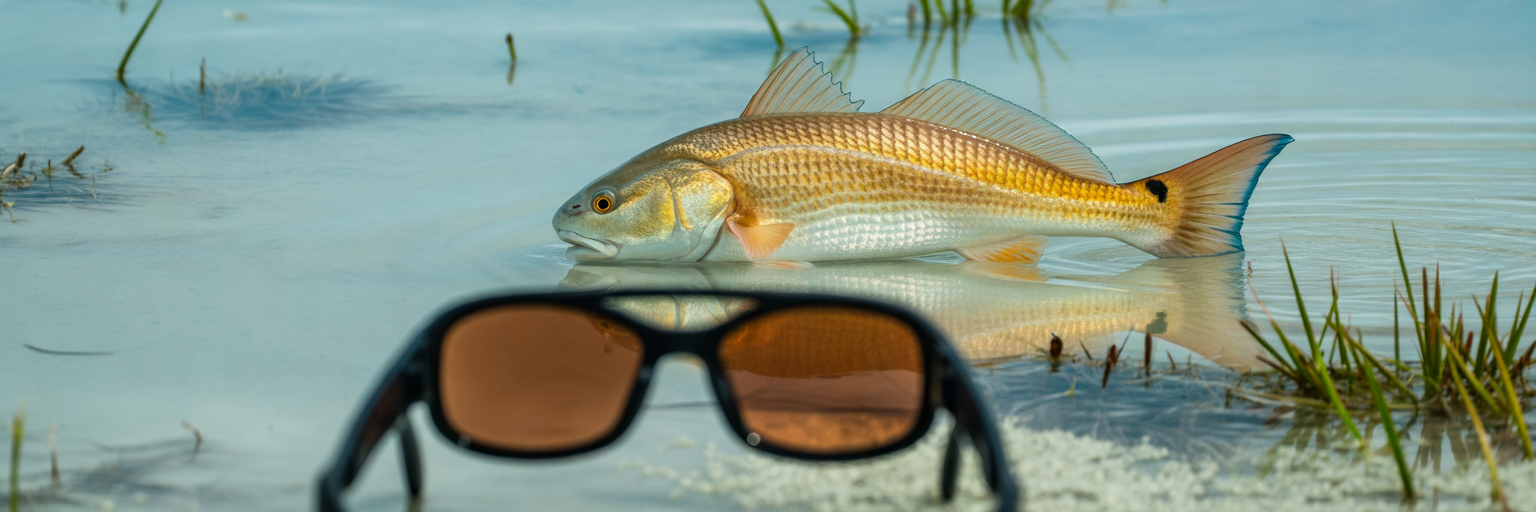
When Edwin Land patented the first synthetic polarizing sheet in 1929, he intended to cut headlight glare for drivers rather than help shallow-water anglers spot cruising redfish. Today, that optical filter is the deciding factor between watching a spooked wake boil off your bow and dropping a soft plastic three feet ahead of a tailing slot fish. Wearing the right polarized lenses for spotting redfish turns a blinding sheet of surface sheen into a clear window on the flats.
Why Polarized Lenses for Spotting Redfish Change Your Hookup Ratio
Every shallow-water angler knows the frustration of blowing out a waking fish at 20 feet because surface reflection hid its approach until the skiff shadow pushed over its back. Compare that heartbreak to spotting a subtle nervous push at 60 feet, trimming the trolling motor early, and making a quiet, leading cast that intercepts the fish on its natural feeding lane. That extra 40 feet of reaction time is where consistent hookups happen, and it is a cornerstone of our approach to sight fishing redfish across shallow coastal waters. Quality optics buy you the seconds needed to read the fish’s heading and set your presentation before it ever feels the hull pressure.
The Physics of Surface Glare on Shallow Flats
Sunlight travels in every direction until it hits a flat water surface. The moment those rays strike a slick bay or rippled grass flat, they reflect horizontally right back into your eyes as a blinding white mirror. Standard dark sunglasses merely dim that mirror without letting you see underneath it. A polarized lens contains a microscopic chemical filter aligned vertically, much like the slats of a venetian blind. This vertical grid blocks the horizontal light waves bouncing off the surface while allowing vertical light waves coming up from the bottom to pass straight through to your retina. Instead of staring at a reflection of the sky, you look straight down into the water column.
Reading Micro-Cues Before the Fish Reads You
Once that surface sheet disappears, your eyes can lock onto the micro-cues that give away laid-up or cruising fish. You stop waiting for a massive wake and start picking up the subtle bronze glow of a stationary back nestled against a sand bar. You catch the electric blue edge of a tail fin tipping in ankle-deep turtle grass, a single nervous mullet flicking on the surface, or a faint mud puff drifting off a pothole edge on a falling tide.
Catching those details depends heavily on how your lenses handle real-time Florida variables like a 12-knot east wind chop, low morning sun angles, afternoon cumulus build-up, and shifting tide stages. Still, every honest flats captain will tell you straight up that no single lens handles every dawn-to-dusk scenario on Florida waters. Understanding glare physics is just step one before matching specific base tints to the bottom contours you fish most.
Matching Base Lens Tints to Florida Bottom Contours and Water Clarity
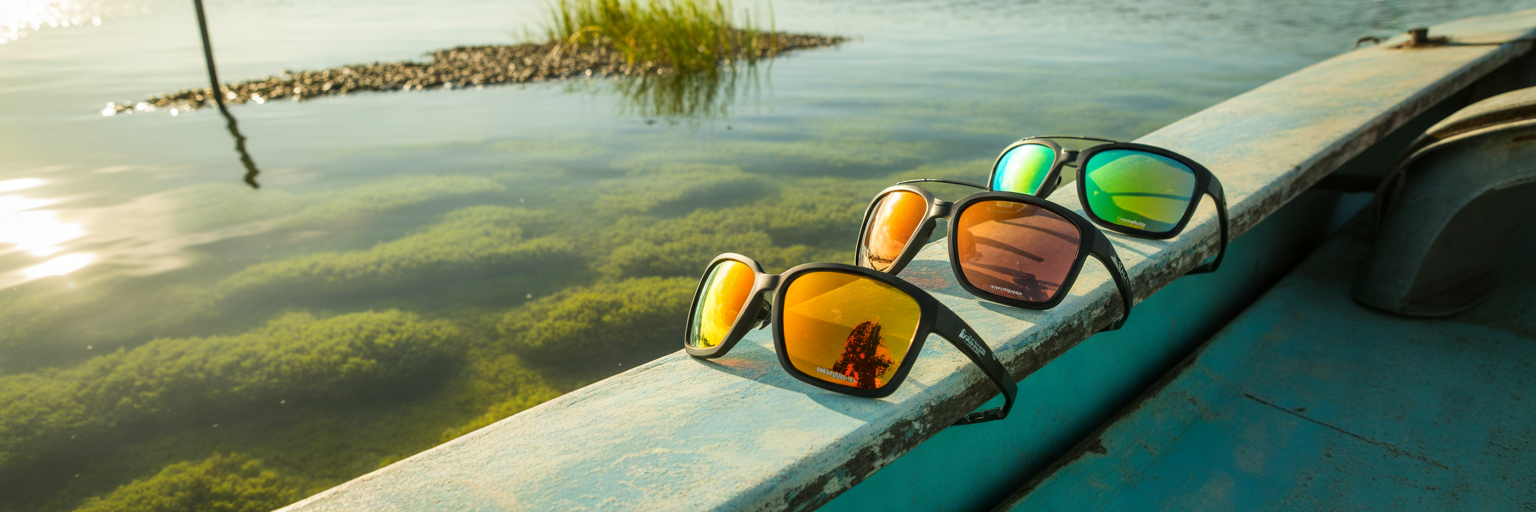
Stripping away surface glare only solves half the visibility problem if the underwater world still looks washed out and monochromatic. Your base lens tint controls how specific wavelengths of light reach your eye, directly dictating whether a fish blends into the bottom or stands out in sharp relief.
Copper, Amber, and Brown Workhorses for Grass and Sand
Inshore veterans rely heavily on copper lenses for flats fishing because copper, amber, and brown base tints aggressively filter out short-wave blue light. As detailed in a study by K2 Fishing on underwater light spectrums and color visibility, short-wave blue light scatters easily in water and creates a visual haze that blurs edges. Cutting that blue scatter sharpens edge definition and makes a redfish’s bronze and copper scales pop against mottled bottom contours.
Choosing the best lens tint for redfish comes down to the specific regional bottom beneath your hull. When you are scanning bright turtle grass and white sand potholes in Tampa Bay or the Florida Keys, a dark copper base with a 10 to 14 percent Visible Light Transmission (VLT) keeps your eyes relaxed while highlighting golden flanks in high sun. Seeing exact grass edges in these bright bays also lets you drop our weedless live-bait rigs right into clean sand pockets without snagging heavy bottom growth. Further north in Jacksonville or across the Big Bend, where darker copper bellies hug mud and sharp oyster bars, a slightly warmer brown or amber base keeps the dark bottom from turning into a black void.
Tannic Backcountry Water Versus Oyster and Mud Bottoms
Pushing into the root-beer-colored tannic waters of the Everglades Ten Thousand Islands or the northern reaches of Mosquito Lagoon changes the optical equation completely. Dark, tea-stained water absorbs light rapidly, turning standard dark lenses into a liability. Here, warm amber and rose-copper tints with a 14 to 18 percent VLT pull usable contrast out of dark, shadowy mangrove shorelines. They brighten the subtle copper and orange hues of a cruising fish without washing out the dark mud bottom underneath.
High-VLT Rose and Yellow Tints for Overcast Skies and Dawn Patrols
When summer afternoon storm clouds stack up over the state or you are easing onto a slick-calm flat at first light, low-light lenses earn their keep. Sunrise yellow, rose, and vermilion lenses built with higher VLT ratings between 20 and 30 percent maximize available light while still stripping away the grey surface sheen of an overcast sky. An optical breakdown by Game & Fish Magazine notes that rose and copper tints sharpen contrast over varied structure while high-transmission yellow lenses excel when light levels drop near dawn or dusk.
Leave the neutral gray and smoke base lenses in the dock box when chasing inshore reds. While gray tints are great offshore for spotting mahi weed lines in deep blue water where you want true color balance, they flatten out the exact color contrast you need on an inshore grass flat. Just remember the trade-off with any dark, high-contrast copper tint: once the sun drops low behind the mangroves or heavy squall clouds roll in, an overly dark lens will starve your eyes of light and hide fish sitting in the shadows.
Florida Inshore Redfish Lens Tint and VLT Selector
| Base Lens Tint | Ideal VLT Range | Target Florida Bottom & Water Type | Primary Optical Advantage |
|---|---|---|---|
| Copper / Dark Amber | 10% to 14% | Turtle grass and white sand potholes (Tampa Bay, Keys) | Cuts harsh blue light; maximizes bronze scale contrast |
| Warm Brown / Rose-Copper | 14% to 18% | Oyster bars, dark mud, and tannic water (Jacksonville, Big Bend, Mosquito Lagoon) | Brightens shadow edges without washing out dark muddy bottoms |
| Rose / Vermilion | 18% to 25% | Overcast skies, passing squalls, and shaded mangrove creeks | Amplifies warm red and orange wavelengths in flat, diffused light |
| Sunrise Yellow / High-VLT Amber | 25% to 30%+ | First light, dusk, and heavy fog over shallow backcountry flats | Maximizes available light transmission while stripping surface sheen |
| Neutral Gray / Smoke | 10% to 12% | Deep open water, passes, and offshore beaches | Reduces blinding brightness without altering natural color balance |
Visible Light Transmission (VLT) percentages and tint pairings reflect standard optical benchmarks used by Florida flats guides to match changing solar angles and regional water clarity.
Mirror Finishes and Lens Coatings That Survive Saltwater Abuse
While the base tint handles color separation underwater, the exterior and interior chemical coatings determine how your glasses manage relentless midday sun and constant salt spray. Separating dockside style from actual water performance starts with understanding what a mirror layer actually does.
Green, Silver, and Blue Mirrors Under High Noon Sun
An exterior mirror finish is a microscopic metallic layer that reflects an additional 10 to 20 percent of harsh overhead glare before it ever enters the base lens. During cloudless midday tides in July, that extra barrier prevents squinting and eye fatigue. A green mirror laminated over a copper base is the undisputed workhorse for bright shallow grass flats because it boosts green and yellow contrast in the water column. A silver mirror excels during variable cloud cover over mixed sand and shell bottoms because it reflects light evenly without altering the underlying amber or copper tint. When fishing wide-open, sun-drenched bays, a blue mirror over a copper base (not to be confused with an offshore gray-blue lens) knocks down blinding surface reflection while preserving the warm contrast needed to spot shallow cruisers.
Backside Anti-Reflective, Hydrophobic, and Oleophobic Layers
Flip a pair of high-end fishing glasses around and you will notice a faint purple or green sheen on the inside of the lens. That is the backside Anti-Reflective (AR) coating. Without an interior AR treatment, harsh sunlight bouncing off your cheekbones or a bright white fiberglass skiff deck reflects off the back of the lens directly into your eye, ruining your sight picture at the worst possible moment.
Equally important are hydrophobic (water-shedding) and oleophobic (sunscreen- and finger-oil-repelling) layers. Taking bow spray on a rough run across the bay or getting caught in a summer rain squall will blind untreated lenses. Fast water beading clears your vision automatically, saving critical casting seconds when you pull up to a shoreline and need to apply our proven redfish fishing tips before the school slides out of range. Make sure you invest in vacuum-bonded, encapsulated coatings built for daily charter abuse rather than cheap surface-sprayed mirrors that peel and pit after one summer of salt spray. Even with the toughest coatings, make it a strict boat-deck habit to rinse salt crystals with freshwater from your cooler or water bottle before wiping your lenses so you never grind abrasive salt into the finish.
Optical Glass Versus Polycarbonate and Urethane on the Poling Platform
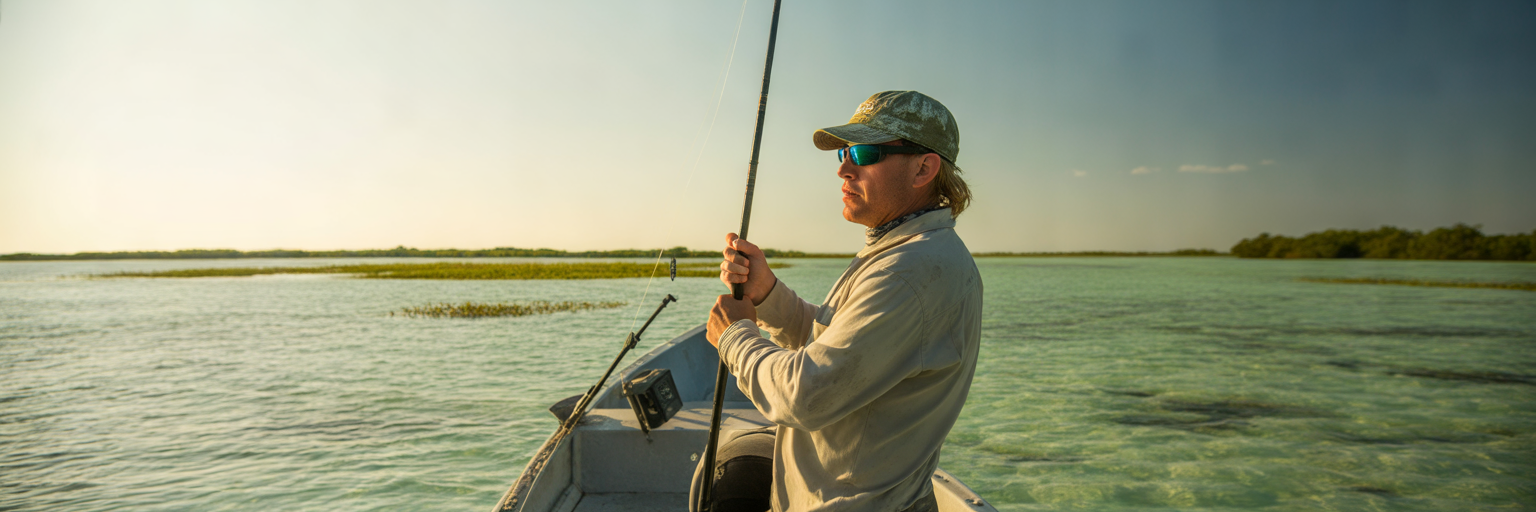
Base tints and protective coatings are only as sharp as the physical lens substrate holding them together. After eight hours on an elevated poling platform during a summer flood tide, the material sitting on the bridge of your nose dictates both your visual acuity and your physical safety.
Abbe Value and Edge-to-Edge Sharpness in Mineral Glass
Optical engineers measure lens clarity using the Abbe value, a simple scale that tracks chromatic aberration or how much a material bends and splits light waves into blurry rainbow fringes. Higher Abbe numbers translate directly to razor-sharp edge-to-edge definition without color bleeding around grass blades or oyster clumps. Ultra-thin optical mineral glass boasts an Abbe value around 58 to 60, making it the gold standard when searching for the best sunglasses for sight fishing. When you are scanning 80 feet ahead from a poling tower, mineral glass lets you distinguish the Fork of a redfish tail from a floating mangrove leaf. Glass also delivers unmatched scratch resistance against flying sand and dried salt crust, though you do pay a slight penalty in nose weight over a full tide cycle.
Impact Resistance and Weight Realities of Polycarbonate and Urethane
Synthetic substrates trade a small fraction of optical sharpness for featherlight comfort and mandatory impact protection. Standard polycarbonate carries a lower Abbe value around 30 to 32, while modern nylon, Trivex, and advanced urethane polymers push that clarity score up to a crisp 43 to 45. If your fishing partner misfires a heavy half-ounce lead-head jig, a gold spoon, or a weighted Clouser minnow in a 15-knot crosswind, shatterproof polycarbonate or urethane protects your eyes from catastrophic glass shards.
Weight-saving synthetic lenses are also a favorite for paddle anglers who rely on our tide chart reading guide for kayakers to slip over shallow oyster bars where a sudden stumble or low-hanging mangrove branch could smack your face. Just watch out for thermal stability when buying synthetics. Cheap polycarbonate lenses can warp, craze, or delaminate if left inside a scorching center console or truck cab in July in Florida, whereas mineral glass and high-grade urethane hold their exact optical alignment through extreme heat.
Optical Material Comparison for Flats Anglers
| Lens Substrate | Typical Abbe Value (Clarity) | Scratch & Heat Resistance | Impact Safety & Weight | Best Florida Inshore Application |
|---|---|---|---|---|
| Ultra-Thin Mineral Glass | 58 to 60 (Highest sharpness) | Superior; resists salt abrasion and truck-cab heat | Moderate impact rating; heaviest on the nose bridge | Technical sight casting from an elevated skiff poling platform |
| Urethane / Nylon / Trivex | 43 to 45 (High clarity) | Good thermal stability; requires hard-coat protection | High impact protection; featherlight for 10-hour days | All-day wading over sharp oyster bars and fly casting in wind |
| Polycarbonate | 30 to 32 (Noticeable edge blur) | Prone to fine scratches and heat delamination over time | Maximum shatter resistance; very lightweight | Kayak fishing, bridge plugging, and casting heavy lead jigs with a partner |
Abbe values measure chromatic dispersion; a higher number translates directly to crisper target separation when looking through water at low angles.
Frame Geometry, Side Coverage, and All-Day Comfort on the Bow
Putting premium copper glass into a poorly fitted frame is like bolting a tournament prop onto a fouled lower unit. The physical chassis of your glasses controls how much stray light reaches your eyes and whether you can keep your focus locked on the water through a brutal ten-hour summer session.
Blocking Peripheral Glare with 8-Base Curves and Side Shields
Peripheral light leak happens when raw sunlight sneaks in through gaps at the top, bottom, or sides of your frame. That unfiltered light bypasses the polarizing filter, bounces off the inside of the lens, and forces your pupils to constrict, effectively washing out your view into dark water. Veteran Florida outdoor writer Rusty Chinnis in The Anna Maria Island Sun emphasizes that wraparound frames or wide temples are vital for blocking side glare that reduces your ability to see into the water.
When selecting sunglasses for Florida inshore fishing, compare high-wrap 8-base curve frames (which contour tightly around your orbital socket) against flatter 6-base lifestyle frames. If you prefer the look or prescription compatibility of a flatter 6-base lens, make sure the frame is outfitted with integrated peripheral side shields and wide temples to block glare bouncing off white fiberglass decks and sandy shorelines.
Beating 90-Percent Florida Humidity, Sweat Slip, and Temple Fatigue
A tight light seal can quickly turn into a steam bath when you are poling hard into a stiff tide or wading mud flats in 90-percent August humidity. To stop lenses from fogging up the moment you stop moving, look for frames engineered with vented nose bridges, sculpted airflow channels along the bottom rim, and a slight clearance gap at the brow that lets rising body heat escape. Keeping your deck kit dialed in is much easier when you pair breathable optics with the rest of the essentials in our complete Florida inshore fishing gear guide.
Equally maddening is a frame that slides down a sunscreen-slicked nose every time you look straight down off the bow at a following fish. Premium frames use hydrophilic Megol rubber on the nose pads and temple tips, a specialized compound that actually grips tighter when wet with sweat. Pay close attention to cranial pinch behind your ears as well, because frames that clamp too aggressively against your mastoid bone will trigger dull headaches and wreck your concentration by hour four. Run through these five ergonomic checks before taking any frame on the water:
- Orbital Gap Seal: Press the frame to your face and check that your cheekbones and brow sit close enough to the rims to block upward deck glare without touching your eyelashes.
- Brow Ventilation Clearance: Confirm there is a 2-millimeter breathing gap at the top corners or integrated bridge vents so humid air can flush out while poling.
- Hydrophilic Nose Pad Contact: Verify that the rubber nose pads sit flush across the bridge of your nose rather than pinching only at the top corners.
- Behind-the-Ear Mastoid Pressure: Shake your head sharply downward to ensure the temples hold firm via friction along the sides of your head rather than digging into the sensitive bone behind your ears.
- Bio-Resin Flex and Two-Way Hinges: Flex the temple arms outward slightly to confirm the nylon or bio-resin chassis has spring tension that adapts to your head width without warping.
How to Test Polarization and Optical Clarity Before Hitting the Flats
Not every pair of sunglasses sitting on a tackle-shop rack delivers true optical performance, even when a shiny polarized sticker is stuck to the lens. Knowing how lenses are constructed and running a few quick floor tests will keep you from wasting money on compromised optics.
Encapsulated Filters Versus Cheap Surface-Laminated Films
Budget fishing glasses often cut production costs by gluing a thin polarizing film to the outside or inside surface of a molded plastic lens. Once exposed to salt spray, sunscreen chemicals, and accidental mistings of DEET bug spray, those surface-laminated films rapidly craze, bubble, or peel away at the edges. High-grade optics lock an encapsulated polarizing filter permanently between two precision-ground layers of glass or fused polymer where salt and solvents can never touch it. Quality control during manufacturing also ensures that the horizontal polarizing axis is aligned identically across both the left and right lens. If one lens is rotated even a few degrees off-axis during cutting, your brain has to fight two slightly different glare pictures all day, leading to severe eye strain before lunch.
Five Tackle-Shop Inspections to Run Before You Buy
Before you lay down cash at the outfitter counter, run these five hands-on inspections right on the shop floor to verify the build quality:
- The Marine Electronics and Smartphone LCD Rotation Test: Hold the glasses at arm’s length in front of a smartphone or a shop chartplotter screen and slowly rotate the frame 90 degrees. A true, high-efficiency polarized filter will turn the digital screen completely black at a specific angle, and both lenses should black out at the exact same rotation point. This also shows you whether your boat’s sonar screen will go dark when you tilt your head on the console.
- The Overhead Fluorescent Light Reflection Check: Hold the glasses flat and tilt both the front and back surfaces under the store’s overhead fluorescent tubes. The reflected light bars on the front should flow smoothly without wavy ripples, while the backside reflection should look muted purple or green, confirming a genuine interior Anti-Reflective coating.
- The Vertical Door-Frame Prism Distortion Test: Put the glasses on, focus on a straight vertical door frame or tackle rack across the room, and slowly pan your head from side to side while looking through the outer curved edges of the lens. If the straight vertical line bends, bows, or creates an optical swim effect, the lens has prism distortion that will cause dizziness on a rocking skiff.
- Verifying 100 Percent UVA and UVB Protection: Check the manufacturer spec sheet to confirm full 400-nanometer UV filtration rather than just dark tinting. A dark lens without complete UV blockage causes your pupil to dilate wide open, allowing even more damaging solar radiation onto your retina than wearing no sunglasses at all.
- The Hat Brim, Neck Gaiter, and Retainer Lanyard Test: Put on your actual fishing cap, pull up your sun gaiter, and attach your preferred retainer lanyard right there in the store. Make sure the temple tips do not collide with the side of your hat band and push the frames down your nose, or lift the frame away from your temples and break the side light seal.
Dialing In Your Sight-Fishing System for Your Next Redfish Tide
Walking off the dock with optically pure, custom-fitted sunglasses gives you a massive mechanical advantage, yet the gear still relies on the biological computer behind the frames. Turning better visibility into bent rods requires pairing your lenses with disciplined scanning habits and smart trip planning.
Training Your Eyes to Spot Parts of a Fish
Even the finest copper mineral glass lenses will not put fish in the boat if you are scanning the water looking for a full magazine-cover silhouette of a redfish. Shallow-water predators are masters of camouflage, and water refraction breaks up their outline. Veteran Florida guides train their eyes to look for subtle anomalies in the bottom texture rather than a whole fish. Scan systematically in swinging arcs from 30 to 70 feet ahead of the bow, hunting for a straight horizontal line among vertical turtle grass blades. Watch for a disembodied black tail spot hovering over a sand bar, a glowing blue tail tip breaking the surface tension, an oval shadow drifting across a white pothole, or a faint V-wake pushing against the current. This visual discipline becomes especially lethal during the gin-clear, skinny low tides we cover in our winter redfish guide, where spooky fish lay motionless in inches of water.
The Two-Pair Quiver Strategy for Changing Florida Skies
Because Florida weather can flip from a glass-calm, foggy dawn to blinding midday glare and back to a dark afternoon thunderstorm inside six hours, serious flats anglers rely on a practical two-pair quiver strategy. Keep a primary pair of dark copper base lenses with a green or silver mirror in ultra-thin glass ready for bright, high-sun hours over grass and sand flats. Right beside them in your console bag, stow a backup pair of high-VLT rose, vermilion, or sunrise-amber lenses built for slick-calm dawns, heavy afternoon squall clouds, and deep-shaded mangrove creeks.
Make your optics part of your pre-launch ritual the night before every trip. Rinse and dry both pairs, pack a clean microfiber cloth in a sealed plastic bag so it stays free of boat grit, and check our Florida tide charts alongside local wind forecasts. Planning your shoreline route so the morning or afternoon sun stays directly at your back lets your polarized lenses cut straight to the bottom, helping you spot more slot and overslot redfish long before they ever know you are on the flat.